Friday, July 30, 2010

July Month in Review!

Hello there! I’m baaaack with another month in review! Can you even believe how fast this month has gone? Nuts!

To start out July, I showed you the progress I had made on my kitchen redo (with help from American Express!):

And see? I said I hoped to get the kitchen done in July, and looky there…NOTHIN’ else has been done. It’s the kiss of DIY death to say it out loud. :) (Well, I did work on the window treatments, but they did NOT go as planned. More on that later!)

I still don’t know where I’m going to place the glass doors in the upper cabinets – but now I’m contemplating doing all of them. Hmmmm…that depends on if I can get the not so pretty stuff hidden away in baskets. There’s that itsy bitsy cost issue too. ;)

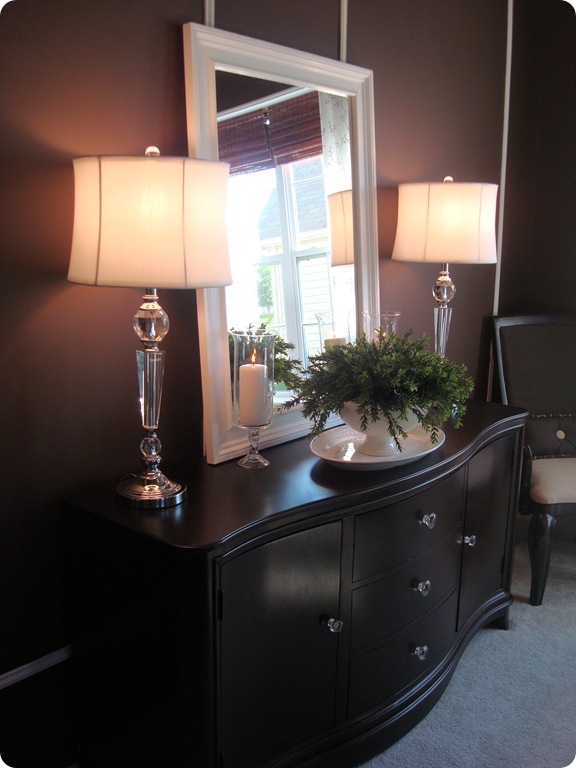
Next, my love of Craigslist blossomed. And I had a ton of fun decorating my new, loverly  buffet for our foyer:

I have plans to add beautiful crystal knobs to this beauty, once I find them. :)

I continued my blogging series and discussed how/when/where/why I’ve accepted ads and what’s worked for me:

Many of you asked how long I had been blogging when I was up to the 2,000+ hits a day and decided to start accepting ads. I started this blog in May of 08, so it had been eight months total at that point. My site did not really take off till the fall of 08, so I had been actively blogging for five months.

I showed you how I took Walmart and Target jars, and black craft vinyl and made adorable cereal jars and “chalkboard” labels:
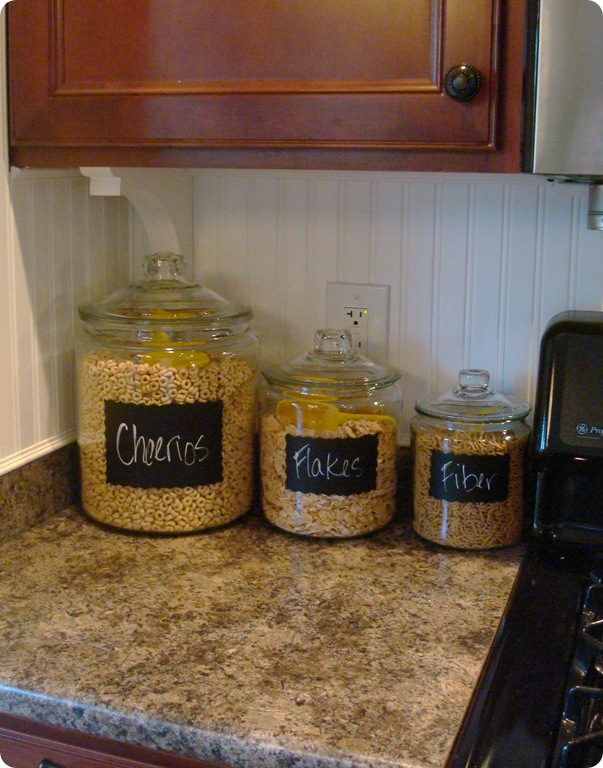
glass cereal jars

The vinyl is the stuff you use for craft cutters, like the Silhouette. I found mine at Meijer, but I think you can find it at Walmart and Target, and for sure at Hobby Lobby and Joann’s. If you loved the idea of Chalk Ink markers, you can find them here.

Some of you asked if the cereal has stayed fresh, and so far so good! The lids aren’t air tight, but they provide enough of a seal. I just munched on some Cheerios to double check, and they were nice ‘n crunchy. :)

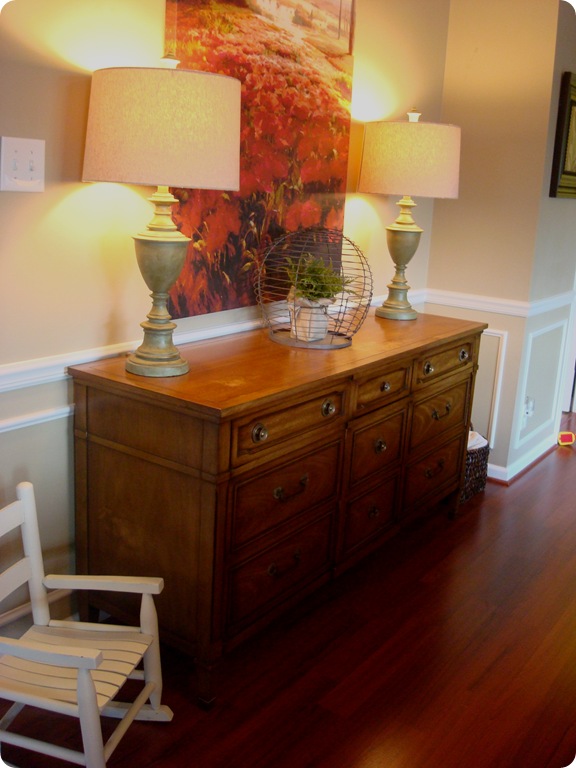
I showed you my next Craigslist find, which was actually my first Craigslist find, but whatever. I originally bought a dresser for the foyer, but it was way too big, so I ended up moving it to the family room, and now this spot:
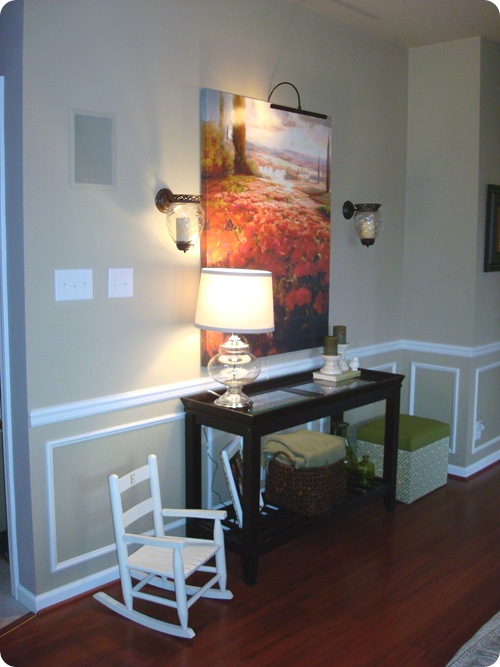
Now looks like this:

083

Sigh. Isn’t she lovely?

I admitted to my love of faux and showed the nonbelievers that yes, it can look good!:

050

At least I think so.  ;)

I showed off Emily and some of her fab projects, including these DIY Willliams Sonoma candleholders:
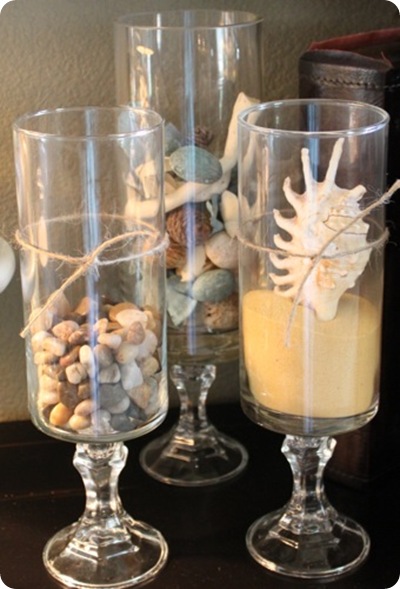
Williams Sonoma hurricanes

Oh yeah, hers were only two bucks EACH. I do believe Dollar Trees all over the country are cleaned out. :)

Next, I dissected the beautiful catalog pictures we all drool over:
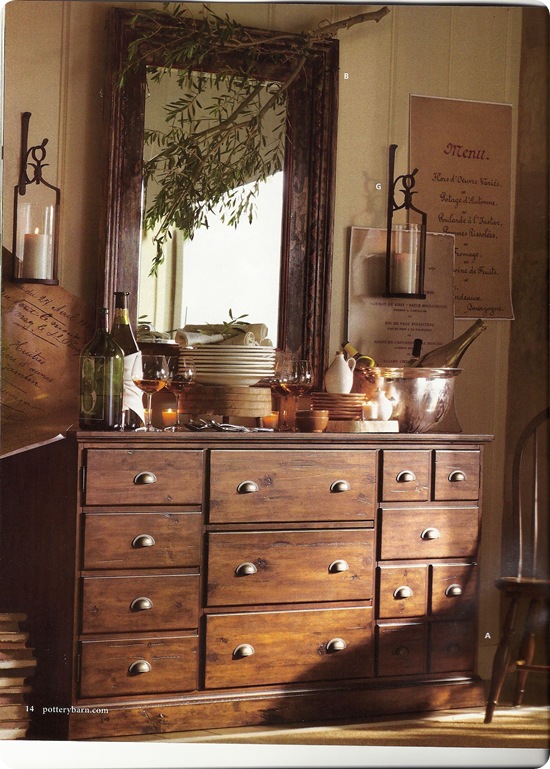
scan0003

And I still love them, even with the fake menu falling off the wall. ;)

I showed you the chore I loathe…and the torture I go through to get this:
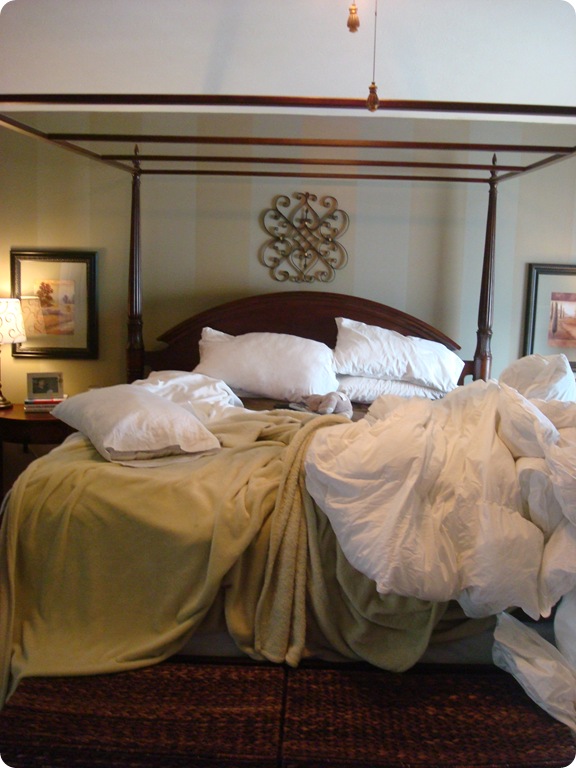
004

To this:

034

Let’s just say there’s some sweating involved. And a clear schedule for the day.

One of my lovely readers let me know that these bins were recalled:
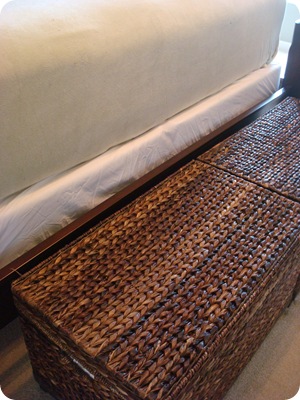
022

I was annoyed with them anyway (they “shed,” you can’t sit on them and the lids don’t stay up – hence the recall). I took them back and got a store credit – if you have them, you may want to see if you can do the same!

I discussed one of my most frequently asked questions – how to pick out and mix metal finishes in your house:

brass

And also mentioned my hatred of shiny brass. ;)

Many of you have asked if I have tried spray painting door knobs – I haven’t, but my friend Beckie has, and she gives you the low down here. I think they’ve held up pretty well for her!

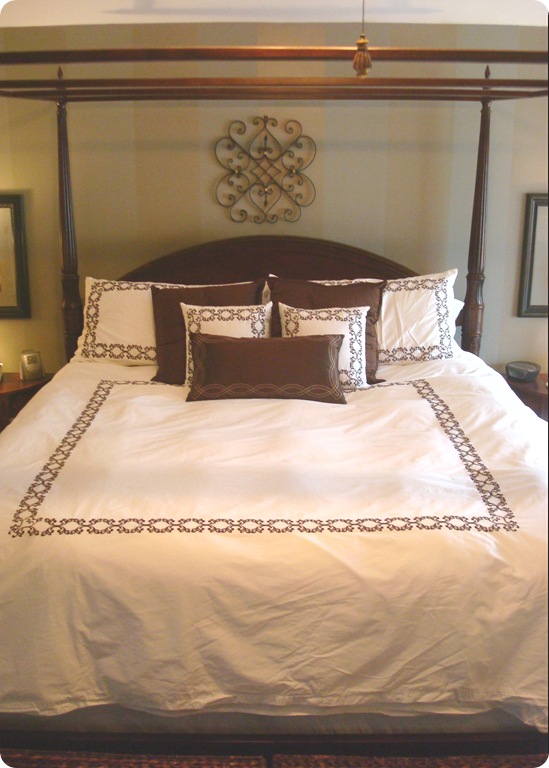
Last weekend, Saffron Marigold offered a fantastic giveaway of their luxurious linens.
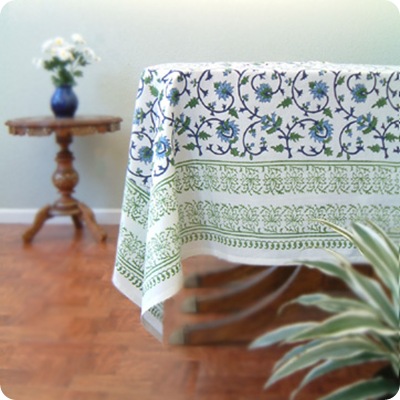
mt_tc_pd

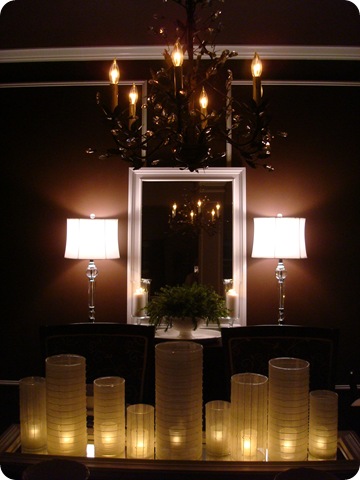
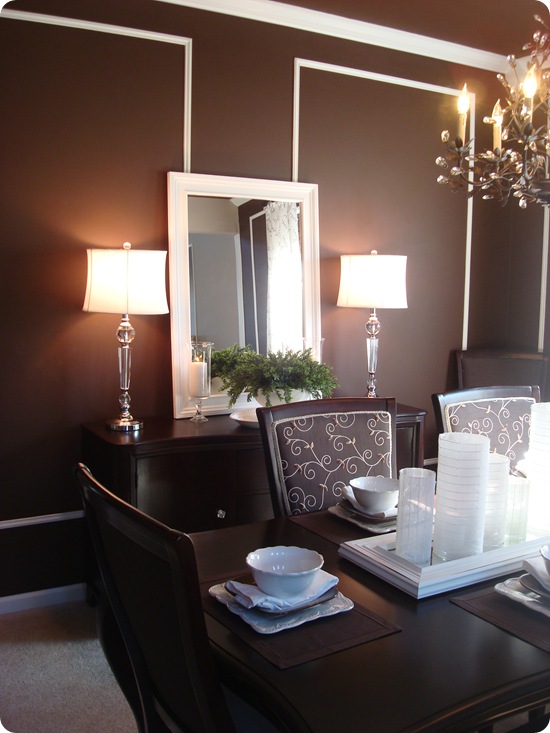
One of my favorite (and mostly FREE!) changes of late was taking the massive hutch off the beautiful buffet in our dining room:
dining room

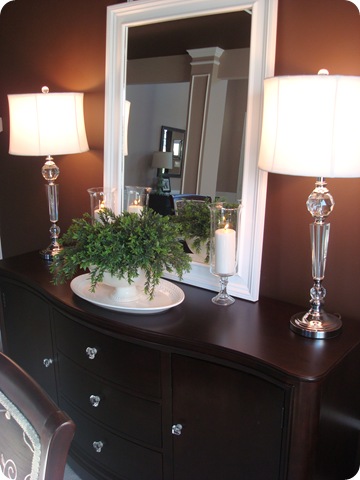
I “made” a mirror, Emily’s candleholders (from above) and got some fabuloso lamps from HomeGoods, and it was complete! (And loverly!!)

Finally, I showed you how some of our rooms have progressed over the years, from this:
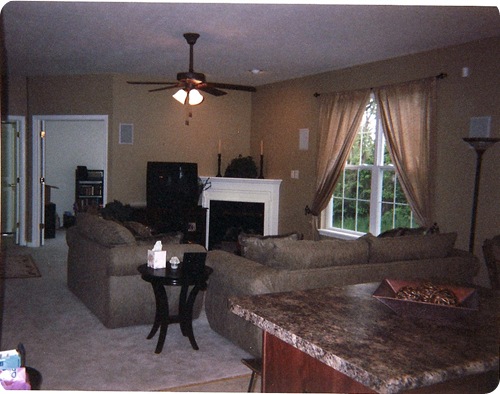
scan0006

To this:

029

It’s taken six and a half years to get from the before to the after, and there’s still more I’d like to change up!

I have to give a BIG shout out to my wonderful advertisers for July as well! You can click their buttons to get to their sites:

If you are interested in a photography class that teaches you the basics of beginner photography, how to better use your camera and its settings, etc., then Angie’s class is for you!:

If you need quick, easy dinner recipes and family meals, check out Quick and Easy Dinners for a ton of ideas!:

Dimples and Dandelions is a family owned company that sells the most adorable and unique products available for both baby and child!:

Bomobob’s shop is full of fine carnival, bird, flower, nature and travel photography -- all shot with vintage film, digital, and Polaroid cameras. And ALL unique and original!:

PhotoJewelryMaking.com is the world's largest photo jewelry supplies super store, offering a large selection of photo jewelry making items such as bracelet, brooch, pendant and ring blanks. (And more!):

Need help decorating a room in your house? The designers at My Design Guide will help with everything from choosing the perfect paint colors to picking furniture, lighting and accessories:

And thanks to my additional lovely advertisers for July – The Vintage Pearl, Thirty-One and The Rusted Chain:


And thanks to YOU for what was the BIGGEST month ever at TDC!!

HOLY CATS.

I couldn’t do this without you Squeeeeeezies!!  ;)

* The Before and After Party is on for this coming Monday – it will go up that night!

** If you are interested in my primary or secondary advertising, or a giveaway post, email me at simplehomeinteriordesign (at) gmail (dot) com.

*** If you have any additional questions about this month’s posts that I didn’t answer, please leave them in the comments and I’ll respond back this weekend.

Wednesday, July 28, 2010

From before to after: It takes time

First of all, the winner of the Saffron Marigold giveaway is Betsy from Not Your Ordinary Betsy…congrats!! Betsy, email archana (at) saffronmarigold (dot) com to get your free item!

You all know how much I LOVE before and after pictures. Hence the idea for the Before and After Party I have monthly. I could look at before and after pics of a space all. day. long. I love trying to find all of the changes, updates -- all that good stuff.

I even like to look at my own before and afters. ;) I love, love, love looking back at old pictures and seeing how our spaces and my decorating taste has changed.

Looking back at photos is also a great reminder that a space you love rarely happens overnight. I’d venture to say – NEVER happens overnight. I think the design shows so many of us love fool us into thinking our rooms should be perfect rightthisverysecond. It seems to only take them a few days, right?

Well, you know how at the beginning of Divine Design, Candice Olson sits there at her desk, and throws hardwood, carpet and tile samples on the desk and just goes….”Ummm…that one!”

I’m here to remind you it does not happen like that.  :)

And when she flips through a catalog and just points to the perfect, gorgeous lighting fixture, sofa, TV cabinet or wallpaper and just knows that’s the one?

Well, first of all, those catalogs are all from her personal lines, so I’m guessing she knows them like the back of her hand. But I’m also guessing she has a team work on each room with her for at least a week, if not longer (way longer).

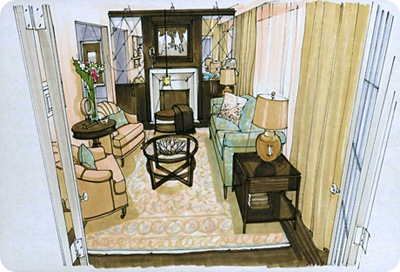
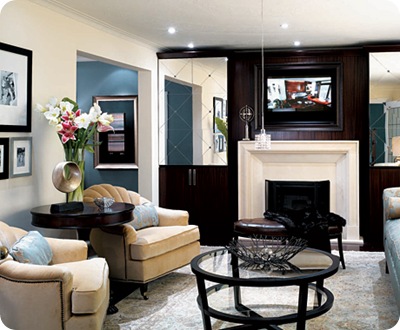
And you know the full color sketch of the room that she shows us before and after the space is done?:

CO sketchThat’s drawn AFTER the room is complete:candice olson

I know this because while at the Chicago Mart a couple years ago, we ran into her former sewing specialist, Edmund Joseph. He gave us the low down. Well, he gave it to my friend Andrea. The rest of us were too chicken to talk to him and kept peeking from around the corner. ;) (But she said he was so lovely to talk to!)

Anyway, the point is…even the experts don’t make it happen overnight. It takes a team – and time. And in the instance of Candice Olson…buko bucks baby!  :)

(I LOVE Candice, let that be clear. Double pound to the chest atcha C.O.!)

I was going through some pictures today and found some photos from the year or so after we moved into our brand new house. I thought it would be fun to show you the then and now and how they got to now. And then I’ll show you the then again. Huh? Ummkay…

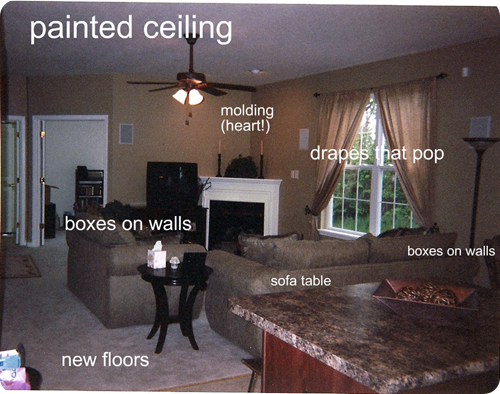
Our family room is actually a ginormous room, but because of the poor design changes I made, it is really hard to work with.

Can you say “NO MORE CORNER FIREPLACES?!”:

scan0006

I don’t have a clue why I thought that would be a good idea. :) The original plan for the room had the fireplace on the long wall, between the two windows. That left plenty of space for an entertainment unit on that shorter wall on the left.

But no…I had to be all changey changey and mess it all up. Gah.

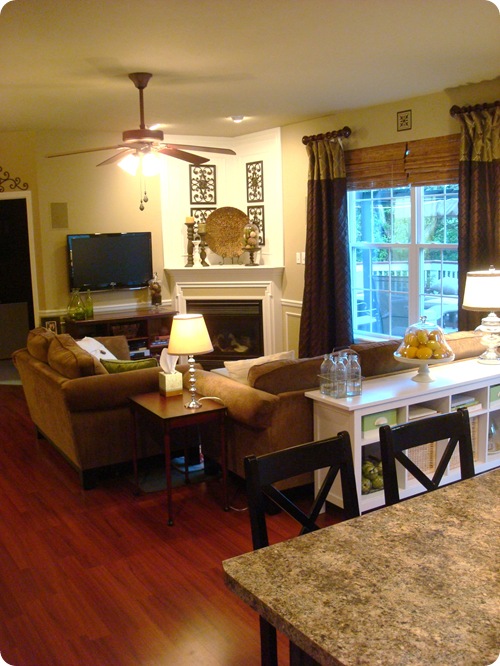
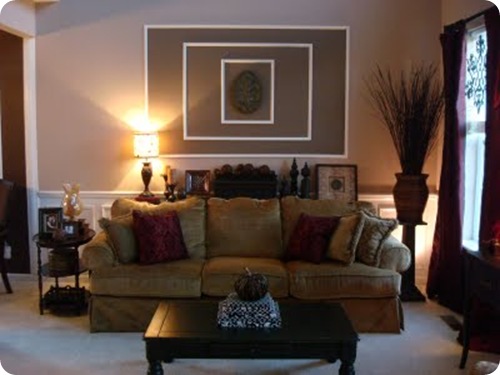
I made some changes to the room last year that helped, and it looks like this now:

029

One thing I have learned in the past six years – how to take a better picture. ;)

There are two things that completely transformed this space, in my opinion. One, the molding above the fireplace. It makes a HUGE difference! And it cost all of $50 I believe? SO worth it.

The next was the flooring – we had Pergo floors installed throughout the kitchen and family room and we could not believe the difference! It just makes everything flow. Lurve.

The flooring is another one of those B.D.R. projects -- “Before Dave Ramsey.” We are STILL paying for them, three years later.

Good thing we like them! Grumble.

We also got new furniture, although it’s hard to tell the difference from this angle. This and the flooring were necessities because we adopted an abused cat with a tendency to not find the litter box. Let’s just say she’s now called “Pee Cat.” She takes meds now to help with this problem, but she will forever lovingly be known as the Pee Cat. ;)

Anyway, there’s obviously a whole host of things that were done in addition to those:

family change

And keep in mind this has all been over the past five and a half years – it’s a never ending process, and I love it!

One thing that’s ALWAYS changing in the family room – the accessories. I cannot get them all to my liking. It’s a constant thang with me. :)

One of my favorite changes to the room was FREE and involved our TV cabinet:

Well, I shouldn’t say completely free, because the TV wall mount was $50. But other than that…fareeee!

I hung the TV, took off the doors to the cabinet, painted the back, moved things around, and there. you. go.:

after

The living and dining rooms look SO different now, they’re a couple of my favorites to look back on:

scan0007

That was our hand me down furniture, a few college tables, and a family antique. :)

Let’s just say…a certain someone named, I dunno…PEE CAT, struck again. (Yes, I am a saint. YES, the cat owes us a bajillion dollars in furniture replacement.)

So years ago we went out and got furniture we could actually pay for, (whoohoo!):

023

This pic is from last fall, and most of the accessories are already changed. :) My name is Sarah, and I’m a compulsive mover-arounder. I have a whole new look in mind for the sofa table, so be on the look out for that.

Oh, looky there…molding strikes again! So do you believe me yet? It’s cheap, it’s not that hard to install (seriously), and it’s truly the biggest bang for your buck! (Other than paint!)

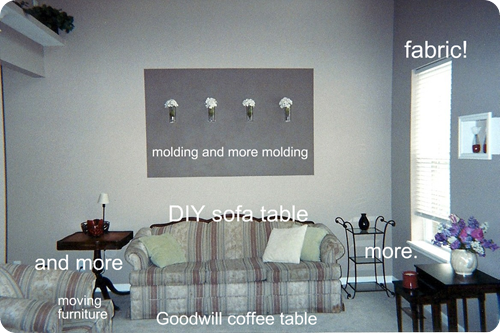
Here’s a down low on this space:

living

I love how the DIY sofa table gives me the ability to accessorize and add some height, texture and light to the space. Fabric on the windows (I made the drapes with hemming tape baby!) went a long, long way in this space too.

We lived with many empty rooms for a very long time -- it’s been a gradual process. And other than the upholstered furniture in our house, the majority of our pieces were discount, handed down, or are Goodwill transformations. We’ve bought very few brand new pieces beyond sofas and our dining furniture.

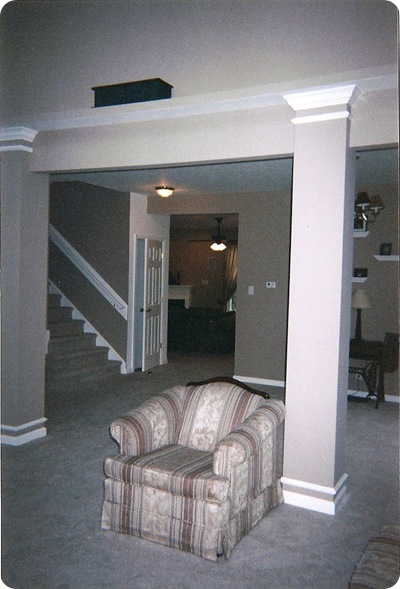
This is one of my favorite before pics  – the view into our dining area and staircase:

scan0008

I told you our dining room sat empty foreva! I put my great-grandmother’s sewing table in there, hung some shelves, put some shades on the light fixture and called it done.

Till the hives started a couple years later. ;) I showed you this week the changes that spot went through and how it looks now:

buffet without hutch

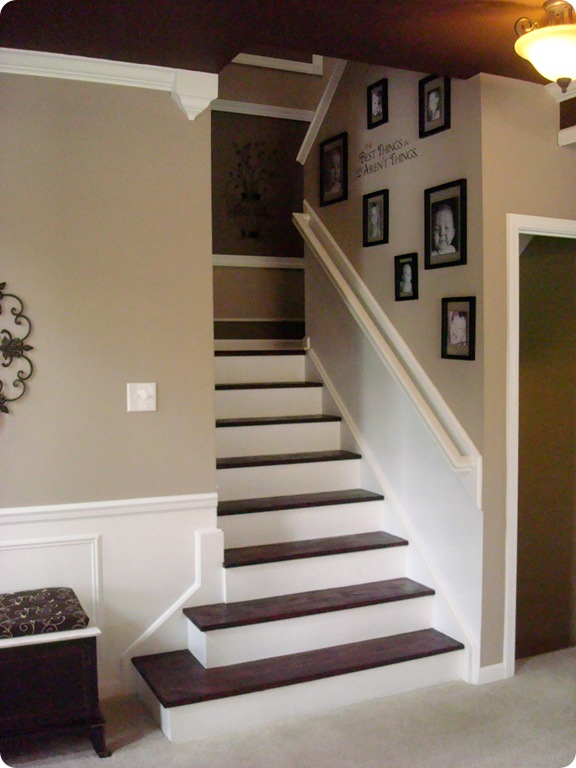
And the staircase? Well, it’s by far my most favorite transformation in our house! It was true sweat equity – the total cost for this project was around $30 for stain and the flooring for the landing (I had white paint):

015

I still sing as I walk up them every day. Well, maybe hum. To myself. ;) I love them. I still want to add molding to the staircase wall, and hope to get that done in the next few weeks.

So there you have it! Isn’t that fun? Nothing like some juicy before and afters! They make me all giddy and loopy and dreamy.

Like I’ve said a million times before, my investment is in my sweat and time – molding, painting, making drapes – it’s all relatively inexpensive when done over the years and when I do it all by my big girl self. ;)

Who knows what these spaces will look like a year from now? Is there a space in your house you think back on and can’t believe the transformation? What was the biggest bang for your buck? Is there a room still sitting empty? Do you see what you want it to look like in your head, like me? ;)


P.S. Spell check is not my friend…bajillion, mover-arounder, changey changey…why are these not in the dictionary??

Monday, July 26, 2010

The dining room update

dining room

Heya peeps! I hope you had a great weekend! I finally finished up a project that was months in the making…really it was years. ;)

Before we built our house, we had been living in a two bedroom apartment for three years or so, and a small apartment translated to VERY little furniture in our new, large house. I lived with the bare dining room as long as I could after we moved in, and one day I told hubby I just couldn’t take it anymore – I was getting furniture!

Did I mention this was before we “met” Dave Ramsey? ;)

Before we even started shopping, I had what I wanted in my head – a long, lovely, dark table (which I got), and a long buffet. I did not want a hutch. But what did I get?

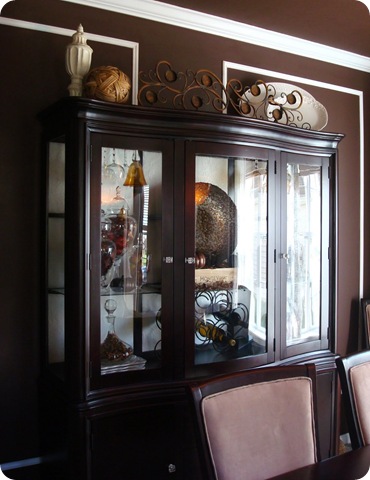
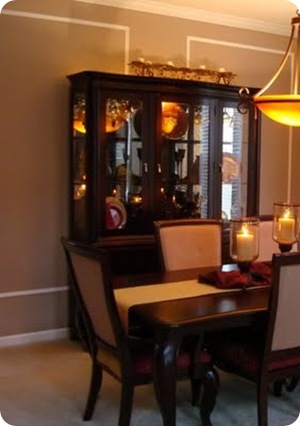
A hutch:

before

I remember standing in the showroom with the sales guy, asking if I could just buy the buffet piece on the bottom, not the hutch. He said nope, and said the hutch had to go on top.

FINE. I believed him. (Grumble.)

And since the day it was delivered, the hutch has been a thorn in my side. We’ve had it for five years, and I was never crazy about it. Last fall I did a little redo by covering the mirrors on the back:

But I was still dreamin’ about that beautiful buffet. So one day I started thinking about it (you know that’s dangerous!!) and wondered if there was a beautiful buffet under that hutch.

I knew it was two separate pieces, but figured the bottom part was unfinished  – you know – all  pretty along the edges, but particle board or something craptastic on top, since it wasn’t seen?

Well, one day I did some batting of the eyelashes at the hubs, and he helped me push the monster away from the wall (did I mention it is INSANELY heavy?), and we pushed the hutch back a bit to see what was on top of the buffet piece:

Cue the birds and angels singing Squeezays!! It was a glorious day!

Then came the hard part. (Did I mention the hutch was CRAZY heavy? Crazy.) Getting that thing off the buffet was a chore. I ended up taking the mirrors out of the back of the hutch, along with the glass shelves, and then took the doors off. It worked! We could actually move it off.

Yeeehaw! :)

Then the accessorizing started. The FUN part!!

I found a large mirror at Goodwill for only $5.99. I loved that it was large (two by three feet), but the frame around it was wimpy, wimpy, wimpy. I knew I could chunk it up, so off to Home Depot I went.

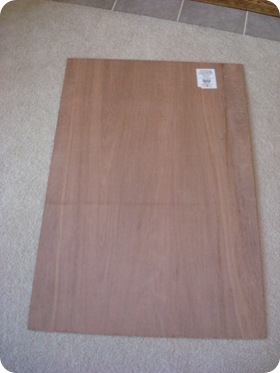
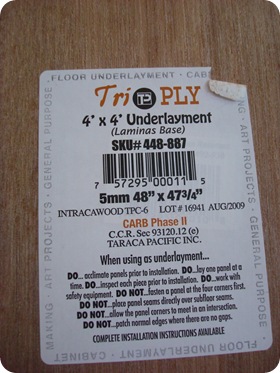
I found underlayment in a four by four sheet for only $6, and had it cut to size:


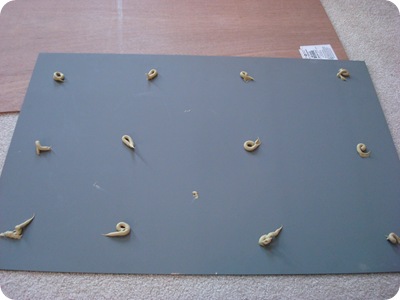
I took the mirror out of it’s old frame and used Liquid Nails for mirrors to glue it on the board:

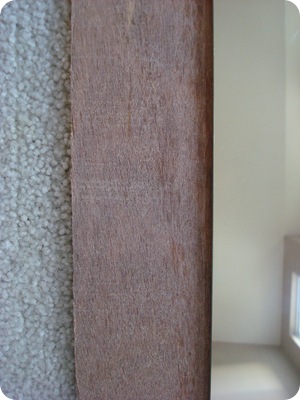
Because I didn’t want the underlayment stuff to be seen from the sides of the mirror, I had it cut just shorter than the width of the molding I was going to install around it:

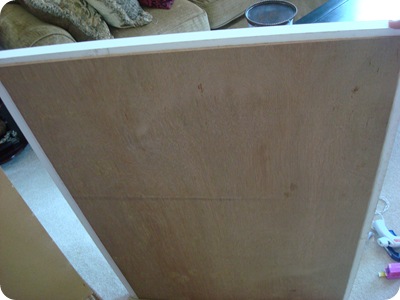
Then I cut my molding and used glue and my nail gun to secure it around the mirror. This is how it looks from the back:

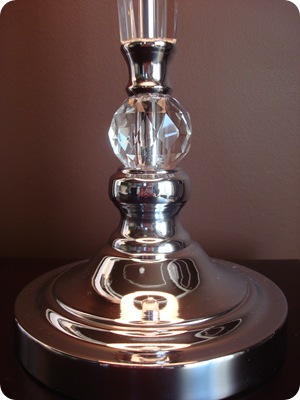
My long ago dream of how the buffet would look included two fab lamps at each end, so I stalked HomeGoods for a couple weeks before I finally found lamps that made my heart go pitter pat:

049

These were a SPLURGE. Fifty bucks each baby. Ouch. It hurt just a little when I checked out. But when I got home with them and placed them in their spots, I knew it was totally worth it. They were loverly.

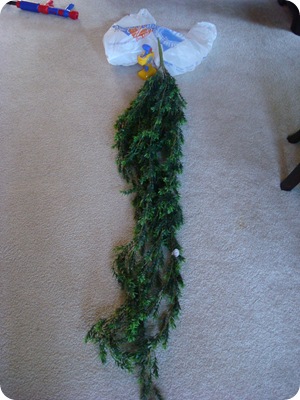
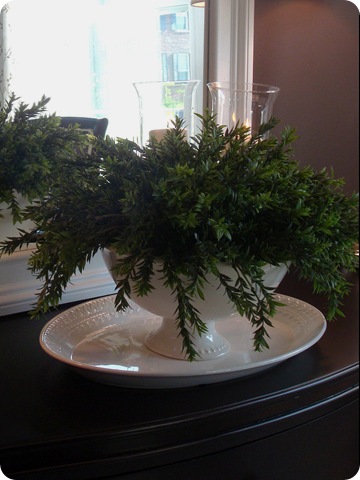
I wanted something substantial sitting in the middle of the buffet – and I REALLY wanted a bouquet of beautiful, fat hydrangea blooms. But my bushes aren’t cooperating this week, so I went with plan B. I got this humongous faux greenery from Hobby Lobby for $15 on sale:

029

And took the beautiful Pottery Barn footed bowl I got with my Amex points (whoo!):

And just started cutting and sticking the pieces all over in the foam till I was happy with the “poof” factor:

070

I loved how it was turning out, but I knew the buffet needed one thing a dining room isn’t complete without – candlelight. ;)

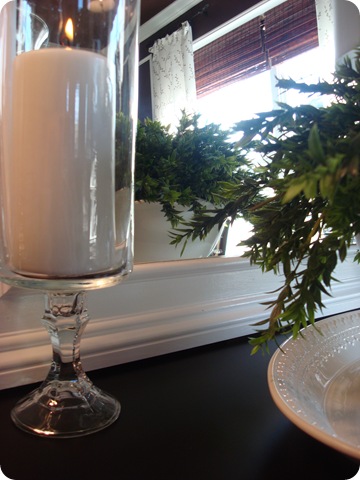
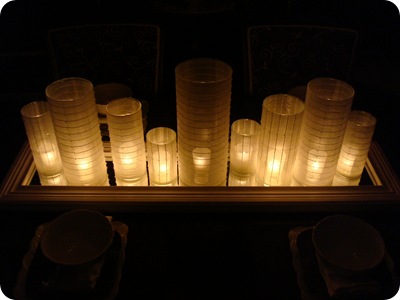
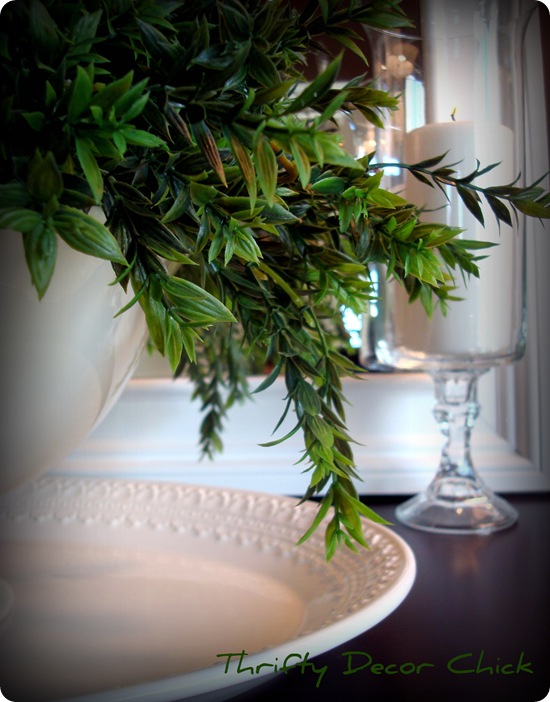
I skipped to the local Dollar Tree the weekend I highlighted Emily and her fab candleholders. Each one is only $2 – one taper holder for the base and a large glass piece for the top:

RUN, don’t walk to the Dollar Tree, cause right now they have candle holders that flare out at the top, and it looks SO much like the William’s Sonoma version!:

I still haven’t glued the base on, so they are a little precarious at the moment. ;) For now, I don’t breathe on them. 

But I love them so very much!!:

dollar store candleholders

I big. fat. puffy heart. the whole darn thing!:

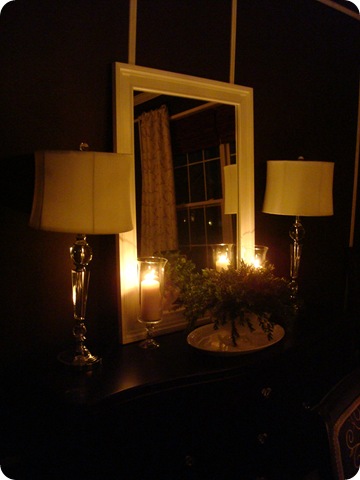
buffet without hutch

I LOVE how the beautiful curves of the buffet can really be appreciated now. No ginormous hutch bringing it down.

The mirror is now a chunkilicous 31 by 43 inches. Cause you know I like ‘em big. And chunkaaaaay (Moto Moto!):

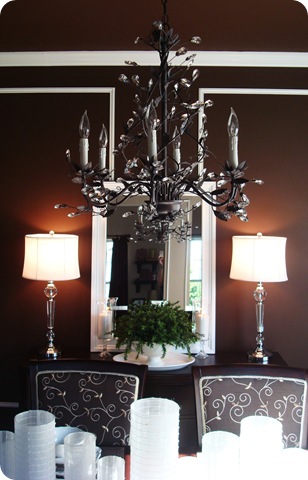
The gorgeous crystal lamps play off of the crystals in the knock off Pottery Barn light:

It’s just what I wanted – simple and understated, but dramatic at the same time. And it makes the room feel SO much more spacious without that hutch on top!

Of course, I love it best at night, with the centerpiece all lit up!:

DIY centerpiece

(To see how I made the centerpiece, go here.) Lurve:

130

I am GIDDY thinking of ways to decorate the buffet for the holidays! Yay!!

It only took me five years, but I got my dream of a buffet in the dining room. :)

The before:

before

And finally, the after I wanted from the start!:

dining room buffet

Now I just have to decide if I’ll hang anything inside the boxes on the walls. Right now I’m think no – but I’m going to live with it for awhile and then decide. You never know what my mind will come up with. ;)