Well hello! I’m back today to share how the accessories on the bookcases came together. It was a long process (what about this project wasn’t??) and I gathered some of the items over months and months. Most of the accessories we already had, but it sure was fun to look for a few new pieces throughout this process!
Here are the bookcases again as a reminder:

First I’ll go through some of the pieces, and then I’ll explain how I pulled it all together!
Of course I wanted the items to have a “library” feel, so that was most important to me throughout the process. Almost all of the “new” (I’ve picked up items since January) accessories were found at local antique/thrift shops.
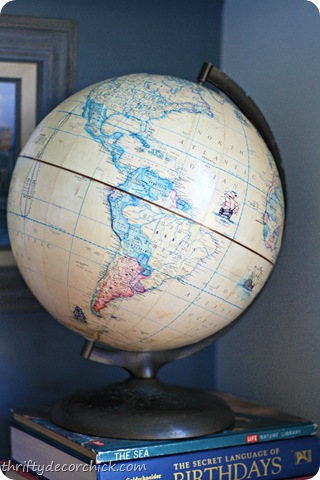
I loved the colors on this globe – they work with he room perfectly! The background color ties in with the walls in the room and the blue works with the backs of the built ins:
I had a globe from my childhood that I could have used, but my STINK sister took it. She swears it’s hers and I swear she’s WRONG. :)
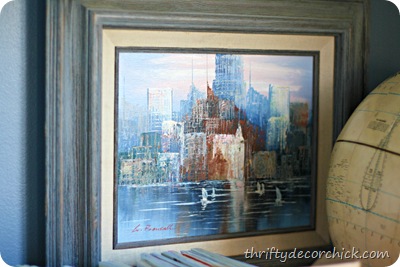
This art was a more recent find and I was so thrilled when I found it!:
It’s an actual oil painting of a skyline and it reminds me of NYC. It was only $20 (which I thought was incredible for a real painting), I think because there was a sticker stuck to part of it. I was able to get it off with tweezers and it looks brand new! The frame was like that too – perfect!
When I shop for ANY accessory, I love finding things that mean something to us as a family, and the NYC painting is certainly one of those.
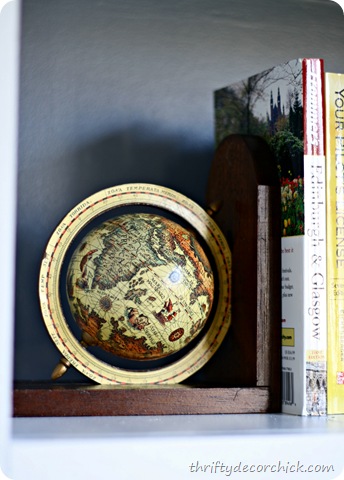
I brought in more globes with these bookends I found at a thrift shop:
They were going to get a paint job but I didn’t want to do it after all that work. Now they’ll stay as is. :)
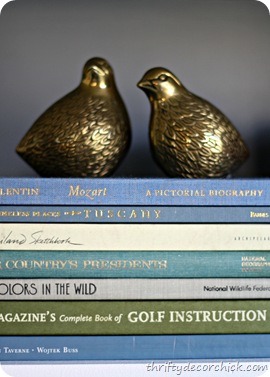
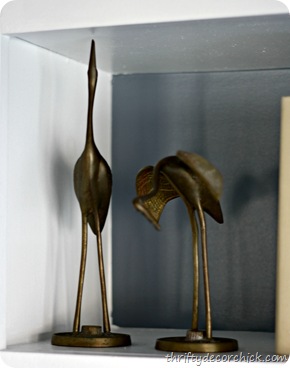
I added quite a few metal pieces, the fat quails (?) were from Goodwill, the pretty cranes were from a thrift shop:
There were a few small DIY projects, including the little set of drawers that I showed you here:
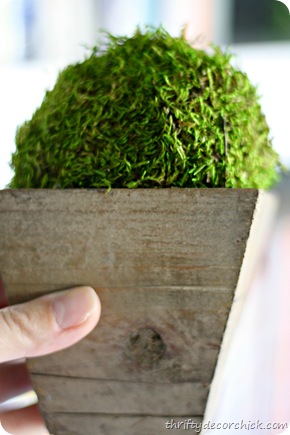
I filled my little wood pots by just covering Styrofoam balls with moss sheets:
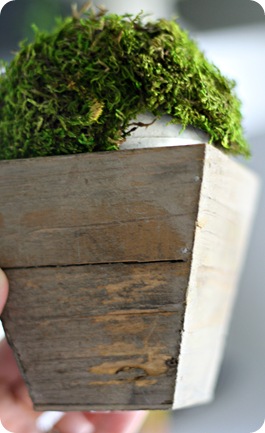
I just cut pieces of the moss off and hot glued it on. I didn’t worry about the backs:
I don’t mess with the backs or the insides of things. :)
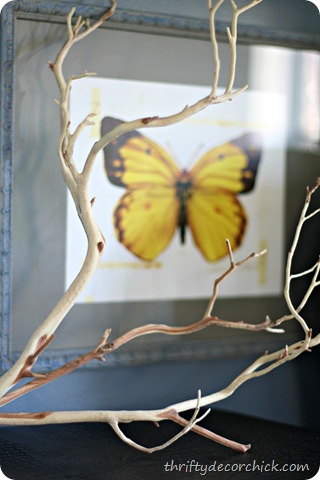
The butterfly art was a poster I cut up and framed years ago. I just painted the frame and mat with the chalk paint I used on the set of drawers above:
You may remember the butterflies from my old laundry room years ago:
I added a little tiny bit of sapphire Rub n Buff to the frame to bring out the texture – the sapphire is such a pretty color!
The faux leather box used to sit in the bedroom (I shopped the house!) and the fat topiary (that I adore!!) was one of my only new purchases, like from a real store. ;) I got it at one of my favorite local nurseries:
Most everything else was ours already. :) I was surprised we had so many books! I did pick up just a few more at Goodwill, but I made sure they were all books we would actually read. It was fun to pick out some new ones. (For a fraction of the price!)
I take the book cover off my books so the pretty covers can be seen. I bought my very first design book to celebrate finishing the bookcases – I’ve never had one! (The Design Sponge book):
Oh la la!! ;)
I used our paper back books too – we have too many of them not to!
As I’ve said before, sometimes accessorizing falls right in to place, sometimes it’s agonizing! :) Most of this fell into place nicely, it was only those bottom shelves that gave me fits:
As I went through the process, there were things that I repeated to make it more cohesive – first up were the metal pieces:
The fan, the cranes, the bookends and the little fat birds were placed throughout.
I tried to space out the green items too:
I even thought about which way to go with the books. I tried to switch back and forth – starting on the right, then left, right, etc.:
Otherwise parts of the bookcases started to look “heavier” than others.
And I also thought about what to center on the shelves and what not to:
The top and bottom items are all centered, and two of the shorter shelves in the middle are as well, on each end.
You know how you see those beautiful photos in magazines? Yeahhh, I can’t even imagine how many people and how long it takes them to get those perfect shots!
I’m just glad I have pictures of these, because I’ll need to refer to these when I need to put everything back after I decorate them for the holidays! The books will stay of course, but I plan to exchange a few accessories out.
So there. you. go. Whew! I hope that helps as you try to conquer your shelves or accessorizing in general. I’m certainly no expert but I do love how they turned out! If there’s something or an item you’re wondering about, please let me know and I’ll answer you in the questions.
Thanks again for all the love on this project! Now, onto that never-ending powder room project. :)




No comments:
Post a Comment