Can you believe Halloween is just days away? The days are going by SO FAST! I’m so excited for Monday though – November 1st is the first day I really allow myself to start thinking about Christmas. And I have a fun holiday event I’ll be announcing on Monday that you won’t want to miss! ;)
So anyway, we’ve had Halloween all over the place for a while now, but I’ve let the Bub kind of take over. I tried putting things out just so…and that lasted about ten minutes. What can I say – he’s like his Momma and is crazy about the holiday decor! I’m not going to fight it. :)
I’m so proud!! Sniff.
I’ve had the buffet in the foyer decked out for weeks now, but today the Bub and I finished it up with a little somethin’ somethin’ on the walls.
When we started working on that spot, our bright, fun lamp (consignment find) wasn’t looking so spooky. :) I wanted to Halloween-it-up a bit without having to do anything permanent.
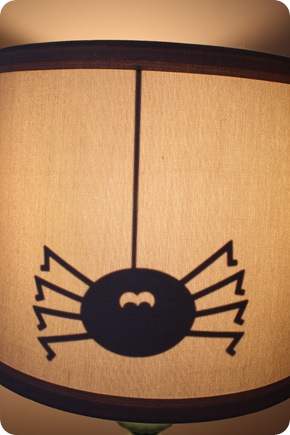
We found some super cute downloads from the Silhouette site and used them to dress up the lamp shade a bit:

I just gave them a very light coat of spray adhesive and stuck them on the inside of the lampshade:
They were cut out of black card stock, and if you don’t have a craft cutter, you could easily download designs and cut them out. You may want to just find spiders with thicker legs if you are cutting them out by hand. :)
I love them so much! And how about snowmen for Christmas? Or snowflakes? DYING.
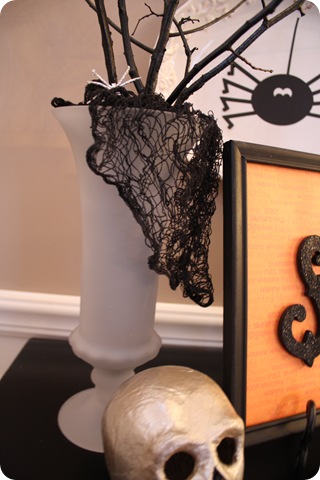
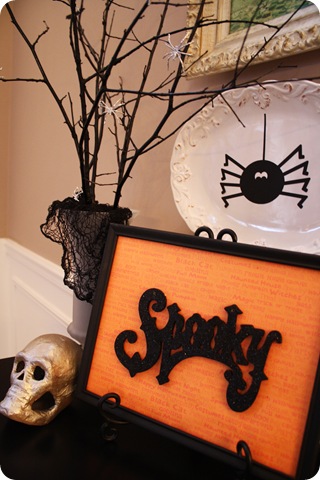
I finally made it back into Goodwill a couple of weeks ago, after a loooong time away. I found a $2 vase that was perfect for my Halloween “tree”:
I filled it with some Dollar Tree netting, then grabbed some sticks from outside, spray painted them black and just stuck them in.
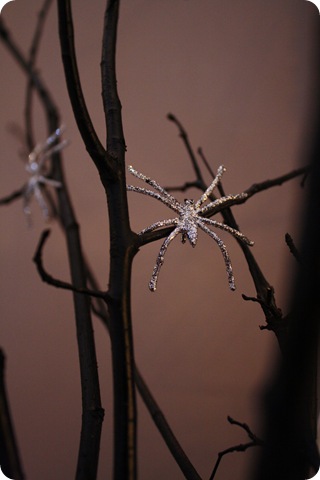
I know…I think I’m the last blogger on earth to do this. :) I wanted something with lots of height and it was perfect! I added some of my Pier 1 spiders ($1.50 for ten I think?) here and there, and some foamy bat stickers we had:
The Spooky sign was from a couple of years ago and is just a $1 word mounted on Halloween paper, in an old frame:
We couldn’t resist another spidey on the platter. :)
I found some sparkly spray paint on a recent trip to True Value, and knew I had to use it somehow:
Don’t you love that name – Titanium Silver? The little skull above was from Michael's and is a cardboard texture. A little Titanium and he was ready to go!
Our other skull head friend was an ugly plastic guy from the Dollar Tree, and because he was slick plastic, he got a coat of spray primer (also thanks to True Value!) and then a couple coats of the Titanium:
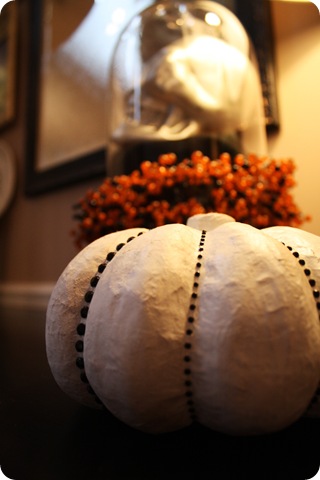
I propped him up under a cloche and wrapped my cute beady stuff around it. Doesn’t he look so happy now? He’s positively beaming. ;)
The pumpkin was another cardboard-y thing from Michael's. I really wanted to use one of the Funkin pumpkins, but this little guy was only a couple of bucks – way cheaper! I sprayed it white and attached some strips of black gems in the grooves(a buck on clearance!):
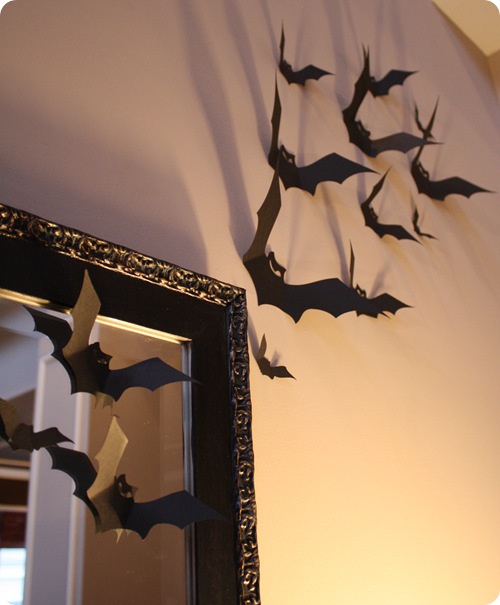
Our final project today was to add the bats flying off on the wall: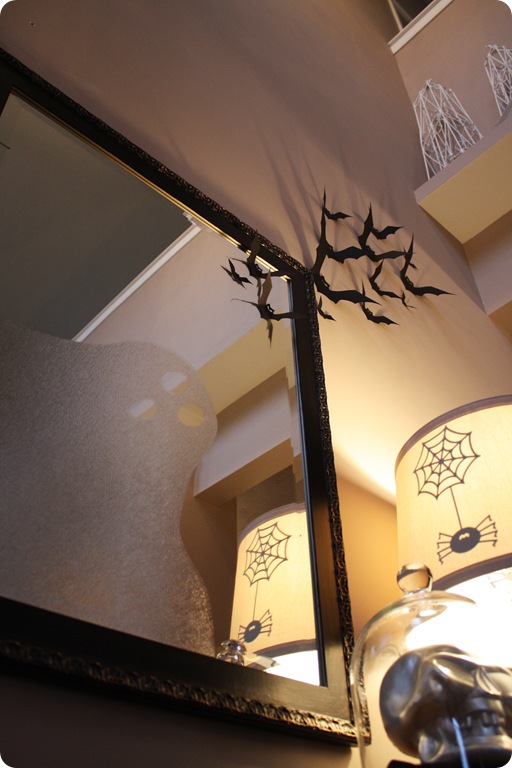
I cut out the ghost (by hand) out of window film I bought forever ago for the new pantry door. (You may remember it took me about six months to get that baby up.) I didn’t like it’s texture though – too bumpy for what I wanted. But perfect for a ghost in the mirror! Buwahahaha!! I love him!
We used the Silhouette to cut out the bats, but again, these are so easy to cut out on your own! I just stuck them to the wall using tape:
I plan on keeping all of these – I think they’ll hold up another year easily!
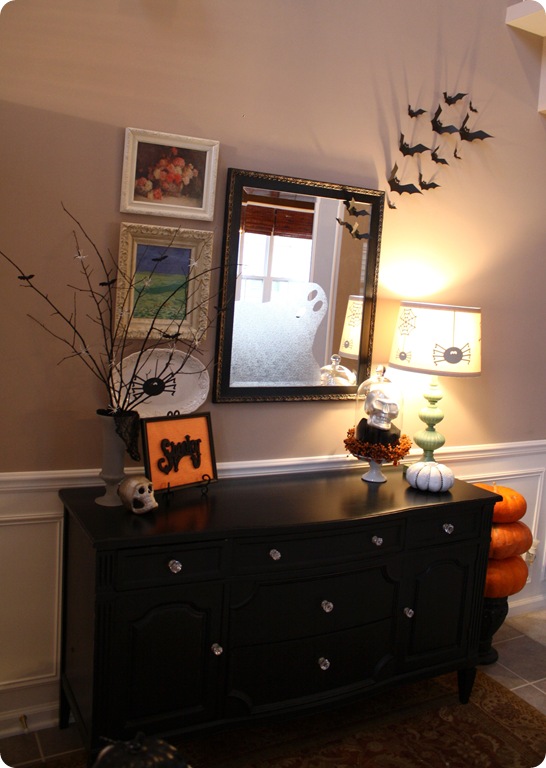
We love our spooky foyer!:
The best part – the whole thing was less than $10!
The cut outs are my favorite part by far…I’m so excited to do even more with them next year. ;)
Are you working on any last minute Halloween decorating or crafts? We’ve got a couple more little projects to work on over the weekend. That’s what the Bub tells me anyway. :)
For more Halloween goodness, click here for past projects!
*I was one of the bloggers selected by True Value to work on the DIY Squad. I have been compensated for my time commitment to the program as well as my writing about my experience. I have also been compensated for the materials needed for my DIY project. However, my opinions are entirely my own and I have not been paid to publish positive comments.*





No comments:
Post a Comment