Sunday, February 28, 2010

Before and After Party! (A drape redo)

027

Well hello! Hope you had a wonderful weekend! I was busy keeping Kleenex in business with a lovely cold. :)

I did get a bit of work done on the basement – I could actually breathe much better down in the cold! It’s going to take quite a bit more time and a ton more work, but I am SO excited about the changes down there. The amount of crap we had has been a bit overwhelming, and getting it out of this house has been such a fantastic feeling!

So onto this month’s Before and After – I am pretty much done with the family room (mini) redo, and I’ll show you that whole space soon. There was one last part that was bugging me – the drapes.

I get a lot of questions about these drapes and I think many go “ARGH!” when I email them back and tell them I actually made these myself. ;) I started with the brown diamond patterned fabric as drapes, and then decided a few years ago they needed a little sumpin sumpin. So I found a coordinating (and much more expensive) fabric in a tan/wider diamond pattern and added it as a panel to the bottom:

I adore these drapes. Lurve. I was contemplating new window treatments in here though, because there were a couple things that had bothered me about them as I reworked the room. The obvious was the diamond pattern just didn’t look right to me next to the new rug. (As you can see a bit in the pic above.)

The other thing that has bothered me from pretty much the day I put them up is they never seemed to hang right. I always felt like they should look fuller than they did. They also covered a little more of the window than I really wanted.

There are two things I always suggest to folks about drapes – hang ‘em high and hang ‘em wide. High and wide gives the illusion the windows are bigger than they really are. I usually suggest hanging the rod far enough to the side of the window so the window treatment will only cover about four inches of the actual window.

This allows for more light, and again, makes the window seem wider. Which is never a bad thing!

Well, my drapes were covering way more of the window than I wanted. Not sure why I did that, or why I hadn’t fixed it yet? But staring at them the other day, I came up with a solution to all my issues. And it was FREE!

First, I took down the drapes and just shortened the rods by five inches. I used my miter saw to do this, but the first time I cut these to 24 inches each, I used my little miter box and saw and it worked like a charm. 

The finials had a brassy tone that I wanted to get rid of, but I didn’t want to have to replace the whole set. So I just taped the brassy sections off and sprayed them with my ORB paint:

021

I love them all over again! (Like I did five years ago when I bought them!)

Once I got the hardware rehung, I went ahead with my wild and craaaazy idea and just flipped the drapes and hung them with the panel on top. I stepped back to check it out…

011

And luuuurved it! UH DUH. Why didn’t I do this from the start??

Flipping these did a few things – it made the bottom of the drapes way less busy, and the brown matches the brown tones in the rug really well.

It also made the gorg diamond fabric the showcase of the drapes, as it should be:

012005  

I love, love, LOVE this fabric:

035

I would totally wrap myself up in it at night, I love it that much. But it’s not cheap. (I think $40 a yard at Joann’s?) So there will be no wrapping in this stuff. ;)

Then I used my usual tried and true drapery tricks to finish up…

I keep the outside drapery rings between the finial and the bracket so when fire trucks and trains are driven under the window treatments by a sweet little three-year-old, they stay put:

017

And I hung them from behind with the drapery clips, creating the folds like this:

019

Try that trick – if your fabric is thick enough and long enough, you’ll never go back to hanging the drapes down from the clips again!

I had to use flash in most of these pictures, so I apologize for the poor quality, but this one shows you how much of the window is covered by the drape. I like to use the window panes (if you have them) as a guide:

044

Half of one pane is what I typically do. Oh, and please ignore the deck furniture that has been stacked and ready to go in the garage for the past four months, umkay?  :) Priorities people.

Shortening the rods made the drapes hang SO much prettier:

015

They just “pleat” so much better now!

I. love. it! And did I mention? FREEEEE? All of the updates – cutting down the rods, rehanging them, spraying the finials and hanging the drapes again took about an hour. Not bad at all!

So here we go! Here’s the before from years ago – with the white two inch blinds, wider rods, and the panel of fabric on the bottom:

And here’s the after – bamboo roman shades (from last year), shorter (debrassified) hardware and the panels at the top:

045  

You like? I still love them either way, but I love how I made them work with the other changes in the space. I am keeping my beloved drapes! Yippee!

Now it’s your turn! Grab the button if you’d like:

beforeAndAfterButton

Then make sure to copy the link from your post into the linky (links to your blog address will be deleted). All you need to link up is a before picture – it can be any kind of project you want to share!

Have fun and thanks for joining in!

Saturday, February 27, 2010

Winner!

125ad_dimples2

Hello all! Thanks so much for all the funny and sweet entries for the Dimples and Dandelions giveaway! They were SO fun to read. Kids are adorable. Good thing, eh? :)

Anyhoo, the winner of the $50 gift card is Jude from Dolce Cape Cod! Jude, please email me (simplehomeinteriordesign (at) gmail (dot) com) and I’ll get you connected with the Dimples and Dandelions folks.

I know I promised you all a post on the stairs this weekend, but I was hit with a lovely cold yesterday and it’s getting worse by the minute. I cross my heart, stick a needle in my eye promise I will share the how-to on the stairs early next week. For now, I must drink hot chocolate. And make soup. And sleep. ;)

Don’t forget about the monthly Before and After Party on Monday! (I’ll probably have the linky up late Sunday night.)

beforeAndAfterButton

Have a great one!

Thursday, February 25, 2010

Science Fair

030

I know I’m not the only one who has created their own “language” with family and friends. I’ve done it for as long as I can remember. For example, my best friend (since 6th grade!) and I call each other “Bird.” ALL THE TIME. When we call on the phone. When we’re at dinner. ALL the time. 

It comes from the “pretty bird” scene in Dumb and Dumber. I believe we rewound that part of the movie about 80 trillion times that night at her house, laughing so hard we cried. From that evening, “Bird” was born. And it stuck, even 16 years later.  ;)

My husband and I don’t even call each other by our names. It’s usually a variety of cute, loving, puke-inducing terms instead. We have also picked up phrases over the years that mean something to us but no one else would ever know.

Translation = when we are at the store and talk to each other, I’m quite sure folks think we are either foreign or just nuts.

This brings me to “science fair.” It’s a term our friend Mike made up a new meaning for years ago. It basically means a total, complete MESS.

Like, “Wow, that traffic was a science fair!”

Or, “The license branch line was a total science fair.”

Or my current favorite -- “Our basement is a complete science fair.”

(More on that soon.)

You have no idea how many times I have typed those words here and had to delete them because you all would wonder what in the word I am speaking to you.

No more. Now that you are in the know, let me introduce you to my latest science fair. Many of you ask if I ever have a project go wrong. Yes. I do. But I do my best to roll with it and make it work. Like I did with this table. It turned out GORG.

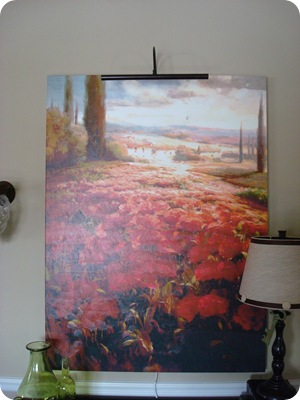
I told you the other day  how I switched some art around from our foyer and family room. Since the day I brought that Ballard Designs art home, I have wanted one of those cool art lights shining down on it.

Since just switching out the art was FREE, and we can always use more light in our family room anyway, I decided to splurge and finally get one.  ($26 from Lowe’s.)

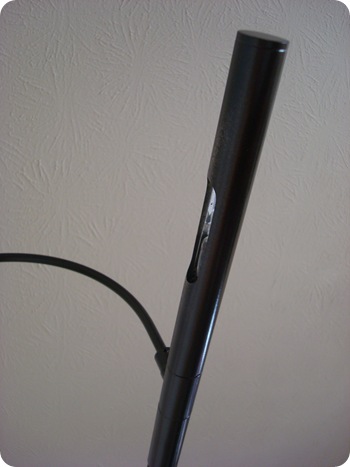
It only came in brass and brushed nickel, so I just spray painted it:

021

In oil rubbed bronze of course. ;) As you can see if you look carefully, my spray paint job left much to be desired. It looks good from the front, but a mess in the back.

Ah well. I was OK with that. No one will look at it from the back. If you ever come to my house, please don’t look at it from the back.

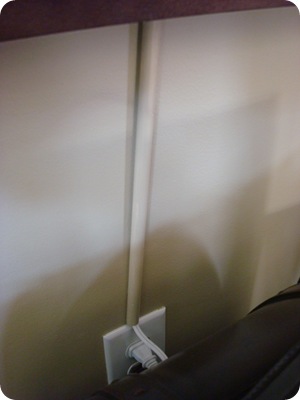
My only hesitation with this light was the cord issue. You know how I much I desperately despise cords. With a serious, burning passion. So I really didn’t want to see the cord hanging down behind the art. Since my cord trick with the flat screen TV worked so great, I got a wild hair and decided to put more holes in the wall.

Brilliant.

I drilled a hole at the top that would go behind the art. I was all giddy in my cord hiding bliss – then I drilled the lower hole so I could pull the cord through and plug it in.

Giddy.

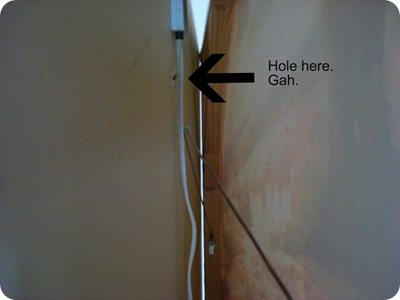
Then couldn’t get the blasted cord snaked through the wall. I tried and tried, but it wasn’t coming through. I finally gave up on it, after about six tries. I was left with this:

025

Oh yeah, and one down below too. (Both have since been covered.) Perfect little round holes. In my wall. Two. Actually, more like six. I had to hang the light twice to get it in the right spot. OK, more like eight holes. But only two are large. Oh dear Lord.

SooooI have cords showing.

That’s right, I said it. I have cords showing.

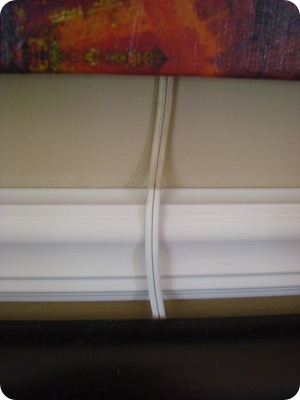
I tried to hide them as best I could:

014 016 

I know. Just say it out loud. I know you can see it. Plain as day.

I’ve lost my mind. I’m OK with it.

Come on, you don’t see it right? RIGHT?

019 020  

It’s there just cackling at me. Every time I walk by.

To add to all this, I was a total dunce and just taped over the light bulbs, instead of just taking them out before I spray painted, so when I went to finally turn on the stinking thing and bask in the pretty over-the-art-light…nothing came on.

BOTH bulbs were burned out because the spray paint must have gotten on them.

So I couldn’t even enjoy this bleeping pretty light until the next day, after another Lowe’s trip.

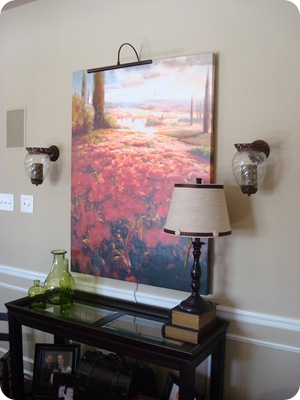
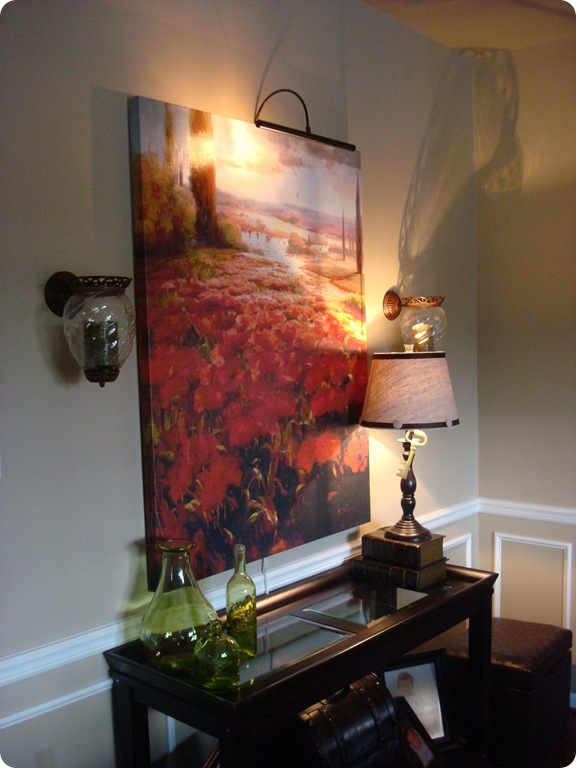
I don’t know if it was worth all that, but I do love it:

026Two words: 

Science fair.

Say it yourself a few times. I guarantee you’ll be using this term tomorrow. All. day. long.

Like, “This chick who writes a decorating blog I read is a total science fair.”

And before anyone yells at me – the electrician is coming. (No, not just to deal with this.) And I will get my cord hidden. Oh yes. I will.

So, are there terms you use that no one else gets? I’m not alone, right?


P.S. I plan to post the how to on our stairs this weekend. And don’t forget about the next Before and After linky party on Monday!

Oh, and if you want to laugh HARD, read the comments from this week’s giveaway below. I love kids! :) The giveaway is open until tomorrow at noon. (Eastern time.)

Monday, February 22, 2010

My biggest DIY project: The stairs

Well, I know it took forever, but here. they. are.

My gorgeous, beautiful, I-am-so-stinking-proud-of-them (and myself!) stairs:

  015

I will give you a play by play on how I finished these up later this week. For now, let’s just enjoy, shall we? :) (Cause seriously, I am pooped.)

Sorry for the craptastic pictures – it’s a dreary day here, so the lighting wasn’t great for these, but I couldn’t wait to show you. (And I knew you would hunt me down if I didn’t.)

Some of you correctly guessed my little added touch to the project…molding. :)

Ah, duh.


Where is the molding you ask? Well, the Queen of Molding (that’s me) was totally thrown for a loop with the angles on this wall -- I could not figure them out for the life of me!

My Dad came over today and we played around with the miter saw and he figured it out! Whoohoo! (Thanks Dad!!) It involves making my own jig for the saw, and we figured out a super easy way to do it.

Umkay, I know I just lost about 90 percent of you with the “saw” and “jig” talk, so let’s get back to the pretties, shall we? :)

The landing turned out just beautifully!:

It stained up a little uneven but I have to say I quite like it. I thought it would take three coats but two was perfect.

I’ll do the same molding treatment on the upper stairs as well. You’ll notice the first few steps on this set stained a bit darker:

Not sure why, and it makes them just a tad darker than the landing, but I don’t. even. care. My Dad just says that the nature of pine, to vary just a bit.

LURVE IT.

(You’ll also notice I haven’t puttied the nail holes in the quarter round either. Still much to do!)

Many of you have asked about the darker band of color along the side:

I did that years ago and I absolutely love it! The ceilings in our stair way are ridiculously high, and it’s a visual thing that just helps to ground them. It’s just very thin (cheap!) molding, then I painted the darker shade of the wall color inside.

I’m trying to decide if I’ll go the traditional white for the molding on the walls. I’ve already painted them out, but of course now I’m thinking the contrast with this darker color would look really fab with the white molding too. Hmmm…will this one ever end? ;)

The biggest thing I was worried about was the slip factor on the wood stairs. I have to tell you – these are WAY, WAY less slippery than carpet – at least so far. The pine is just rough enough to give it grip:

056

Sigh. Love.

The stain I used was a poly/stain mix, so I’m still not sure if I’ll add a coat of poly or not. At this point, I’d rather not. But it would make them a bit shinier and give them even more protection. I’m going to wait it out and see.

Here’s a few more views:

  041 Again, sorry so dark. If the sun would come out, that would help.           

Here’s the most recent before picture I have…can you believe I didn’t stop to take a true before shot before I started ripping up carpet? Oh, you can? Umkay…

017

And after:

053

Did I mention I love it???

LURVE.

Saturday, February 20, 2010

Stair inspiration


p_100166793

Well, the giveaway is still to come, I promise! Until then, I thought I would share some inspiration for what I’ve been working on all weekend – beautiful stairs. ;)

I am thrilled to announce our stairs are DONE!! Well, other than a coat of poly, but not sure I’m going to even do that yet or not (the stain was a poly mix). Oh, and the landing still isn’t done. Or the the little “extra” I am throwing into this madness.

But otherwise, done. :) And gorgeous.

I will definitely show you this week, I’m really hoping to show you on Monday…but every time I say that out loud something gets messed up and it doesn’t happen.

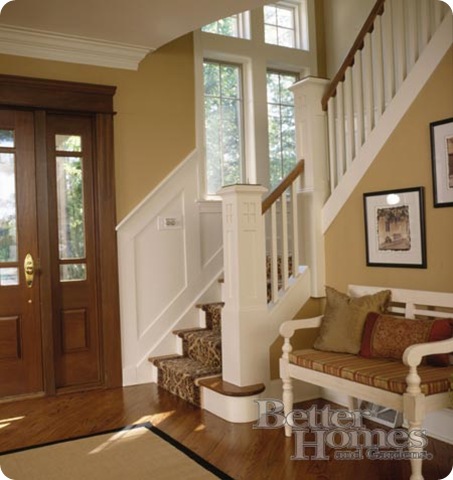
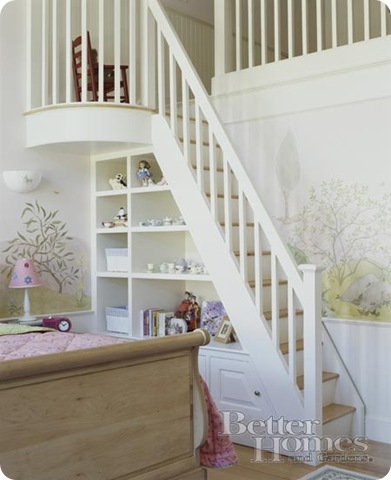
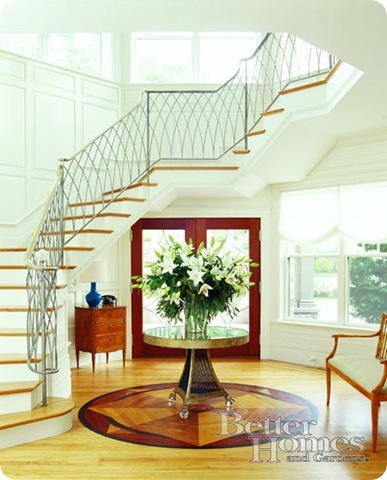
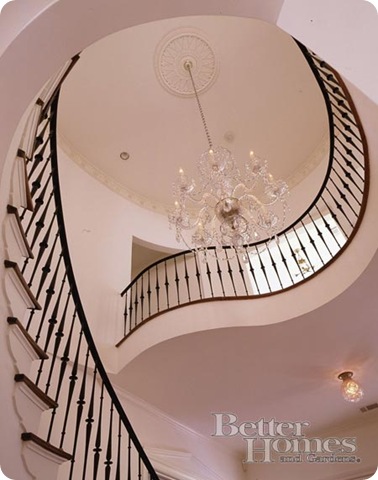
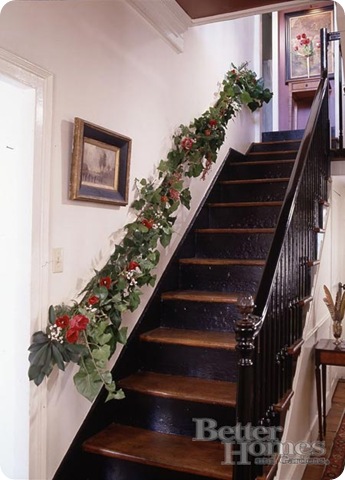
So until then, let’s oooh and aaah over the beautiful inspiration from Better Homes and Gardens…

You’ll see a trend in most of these – gorgeous moldings. I’m like moth to a flame, I tell you what:

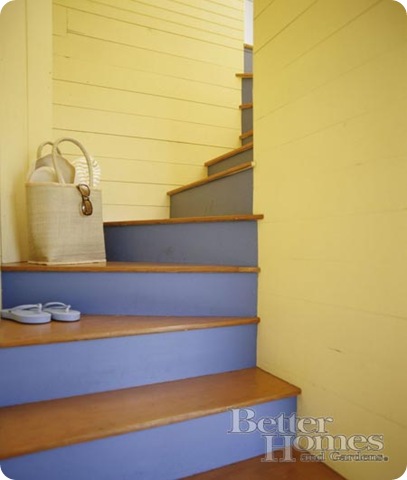
p_SIP929804Love the fun color on these! If I had a second stair case, I would totally do something like this:

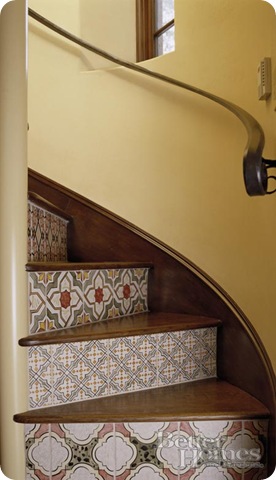
p_SIP933348Love, love, LOVE the tile on these! I think it’s tile?:

p_100115698

Many of you have emailed me to tell me you used wallpaper on the risers – gorgeous!

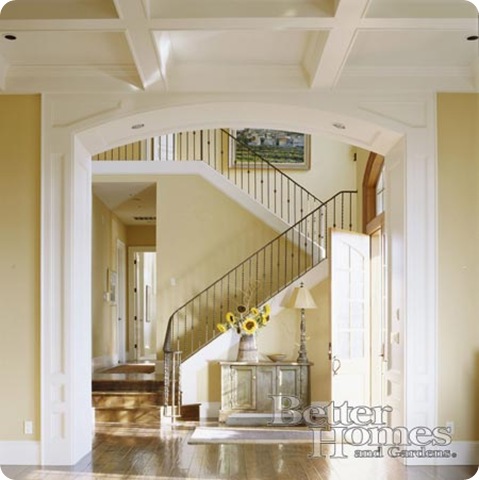
Forget the stairs, I want that ceiling!:

p_SIP933898Oh my. What grown woman little girl wouldn’t LOVE this room?:

p_100175809

Gorgeous molding? Check. Beautiful railings? Check.:

p_SIP935794_R Yes please.:

p_100176537Many of you told me you painted your risers black. I hadn’t seen that look till I found this picture:

p_100176989Love that too!

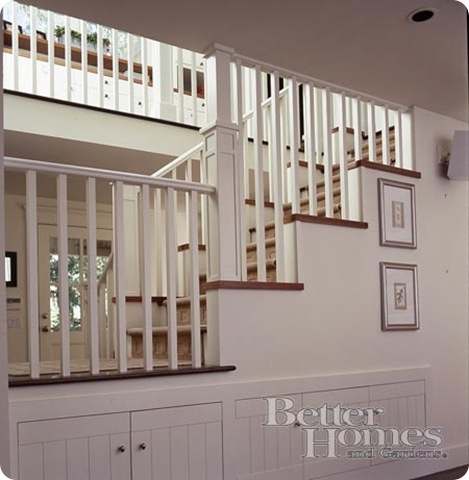
Oh, let’s just add some fantastic storage under our gorgeous stairs:

p_100180371

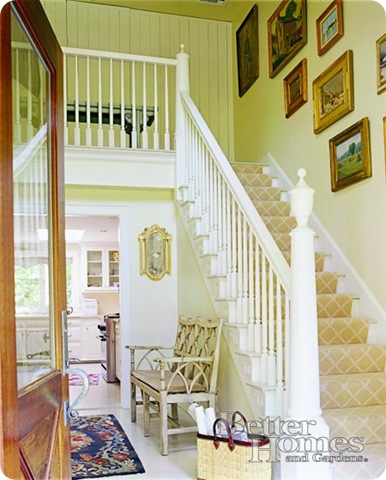
Luuurve the runner on these:

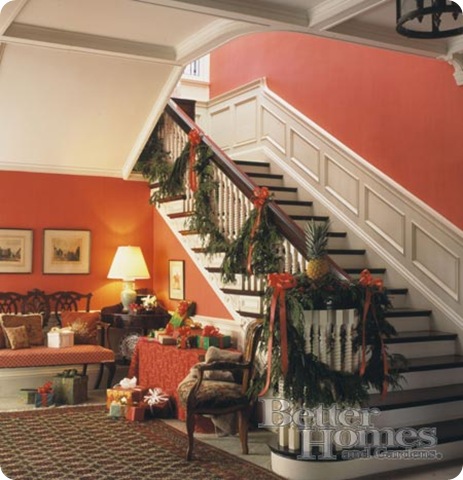
p_REN606279_KAnd, this is how our stairway will look this Christmas:

p_MWL438808

OK, maybe not. I can dream. But it sure will be purdy!! :)

I’m going to bed so I can rest up my staining arm. Back at it tomorrow!!