Wednesday, December 29, 2010

The top ten of ‘10

Well, the end is near. The end of the year that is. :)

I had a great time recapping my top ten posts last year, and this year my friend Rhoda is having a whole linky party dedicated to the biggest and best projects of 2010.

So, without further adieu, here’s my top ten of this year, based on your comments! FUN!

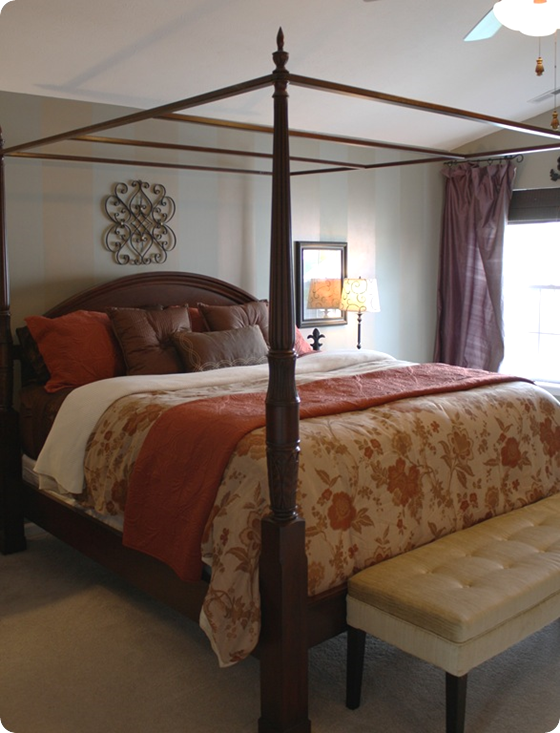
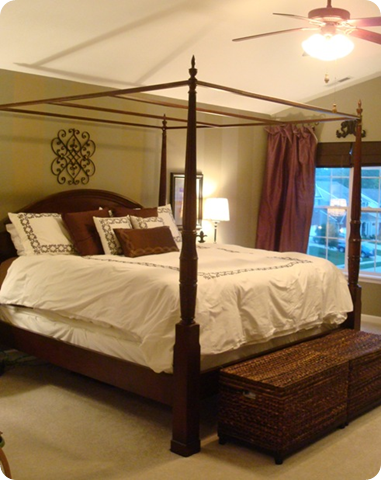
First up was the start of our master bedroom redo. It was all about the bedding and I splurged big time on it. Cause we really like to sleep. Like, a lot.

The previous $25 Ebay bedding:

Was replaced with new duds from Pottery Barn and Target:

Target bedding

We did like the old set just fine – it just didn’t fit the bed. Huh. To say we love the change is a HUGE understatement. We quite literally melt into bed every night.

There’s been quite a few more changes to the room since that post, like new lighting, drapes and accessories. You can see all of that here.

And if you want to see how I used to make our bed, click here. (It still makes me giggle to read that. And want to cry just a little bit.)

Next up was our mini family room redo:

warm family room

A new HomeGoods rug made ALL the difference in the world in there! LURVE.

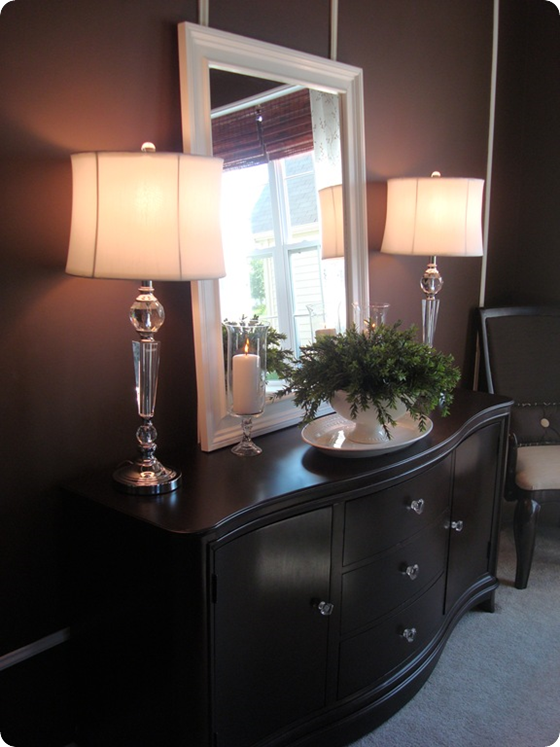
Next up, a project that was FREE and made such a huge difference in our dining room. I showed you how I removed this hutch:

And found the beautiful buffet underneath:

dining room buffet

I framed out the mirror myself, and because everything else was so cheap, I splurged on those GORG lamps. (From HomeGoods. Shock.)

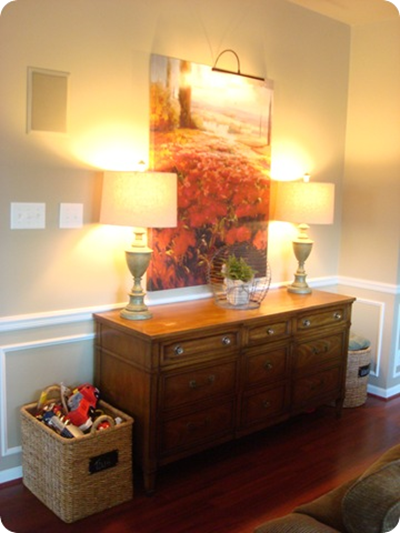
You and I both loved my incredible Craigslist find in the family room – it completely updated a wall from this:

To this:

craigslist dresser

My new-to-me Drexel dresser was only $100, and it is one of my very favorite pieces in our house now. And it holds a bunch of toys. All the more reason to love it. :)

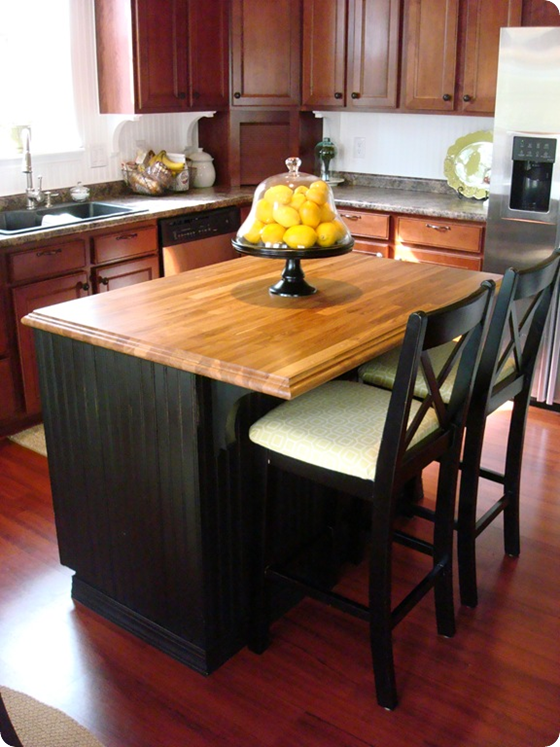
I finished a long, long, LONG process of taking our builder-grade kitchen island:

To a beadboard-wrapped, cabinet-painted, Ikea butcher-blocked one:

beadboard island

You can see the details of the transformation here, and the updates I’ve made to our kitchen this year here.

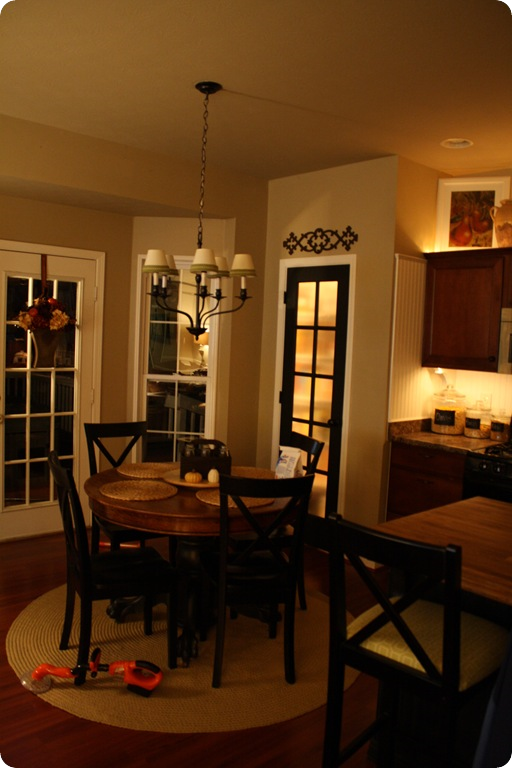
Speaking of the kitchen, you all loved when I took our basic, white pantry door and replaced it with a glass-paneled beauty:

glass pantry door

The (awful) night shot above shows it with the contact paper installed for privacy, and the light inside (which we wired up and I’ll show you soon!)

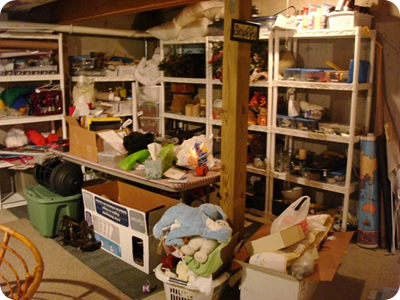
We have an unfinished basement that we treat as if it’s finished. We USE it. A lot. I showed you how my craft “room” looked before:

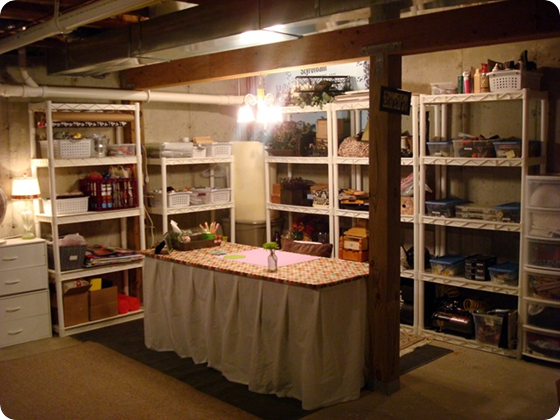
And then with some organization, fabric, and more lighting:

basement craft room

LOVE it! :) You can see more here.

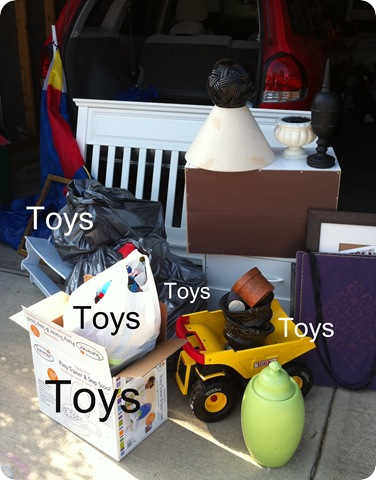
The next one really isn’t a particular project, but it resonated with many of you (and me!). It was a post about STUFF:

STUFF

My father-in-law’s passing (and the week’s after) changed me. I’ve learned a lot about the STUFF and my emotional responses to it since then, and I’ll tell you more about that soon too.

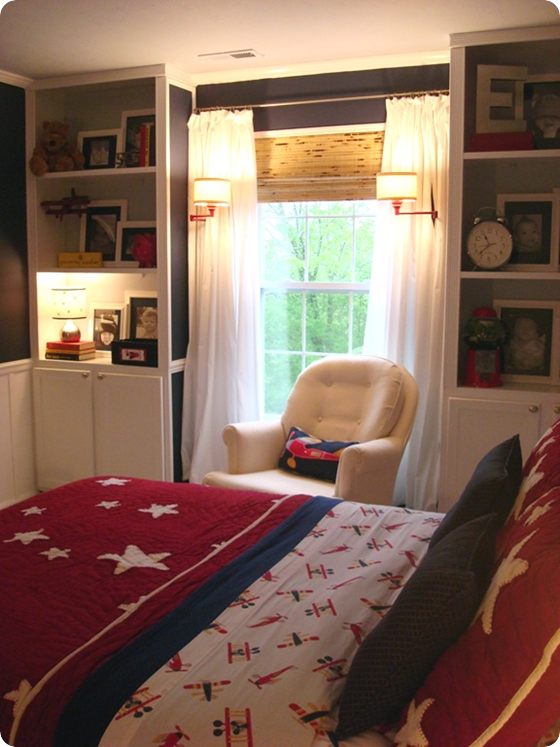
The final two projects of the year were the ones you loved the most! First, the transformation of the Bub’s nursery to a big boy (airplane) room:

airplane room 

It is so clean and classic and crisp – I fall in love with it again every day. You can see the process to redo that room here.

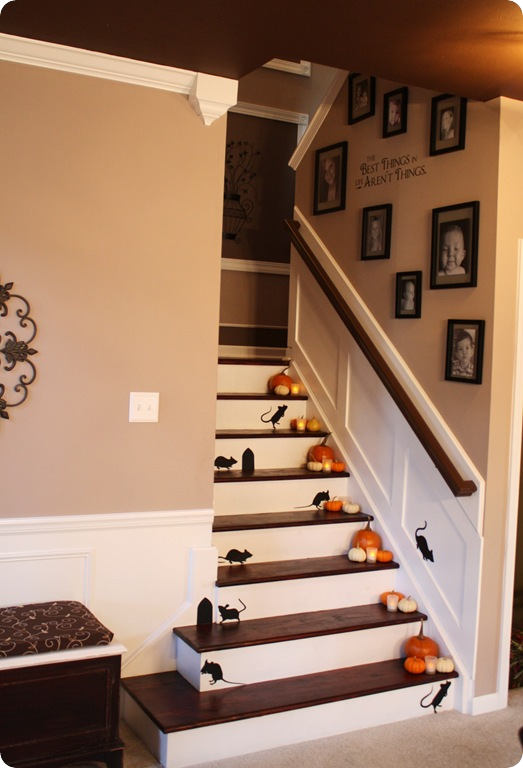
And finally, my biggest DIY project to date, that was also my cheapest. :) I love when that happens!! I took our stairs from this before:

To this, with just about $30:

ripping carpet off stairs

Well, the stairs were $30 – the molding on the wall was a bit more later, but the whole project was still under $60. It helped that I had the paint, stain, and beautiful curved treads under that carpet. ;)

BUT…all the hard work kind of evened out the money saved. :) It took some major sweat and TIME.

I’d do it all over again though – it’s still my very favorite project I’ve tackled in our home. SO WORTH IT. You can see the whole slew of posts about the stairs here.

Well, there. you. go. The top ten projects here at TDC, determined by your comments. It’s been a GREAT year! Did you have a favorite? What did you tackle that made the biggest impact in your home/life?

Check out Rhoda’s party for inspiration for NEXT year! :) If I don’t talk to you before then, have a very, very happy, fun and SAFE New Year!!


Thank you to my sponsor!:
Monday, December 27, 2010

Didn’t.

I didn’t take my comfy pants off for days till last night. (Not the same pair all that time, mind you. Eww.)

I didn’t put bows on the presents. Wrapped and done.

I didn’t even use many tags. (Just coded them by wrapping.)

We didn’t have a beautiful family picture for our Christmas cards – I ended up making a collage so all four of us would be represented.

I didn’t get out of bed before 9 a.m., ever (even on Christmas morning – our children ROCK.)

I didn’t make “real” cookies with cut outs or beautiful icing (and Santa still liked them just fine…he told me so.)

IMG_2548

The Bub didn’t change out of his Christmas jammies for more than 24 hours, and that was just to change into new ones.

I didn’t cook anything on Christmas eve. (Pizza. Thank you.)

I didn’t take enough pictures – I was too busy being in the moment. (But I’ll probably regret it.)

I didn’t pick up the millions of itty bitty legos that have been underfoot for days. (Still haven’t. I kind of surrender.)

I didn’t make the bed once, even with tons of family here.

photo

I didn’t take one piece of Christmas decor down. (But I’m feeling the itch.)

I didn’t mind one single bit when the whole family sat down and watched Despicable Me during Christmas dinner. I loved it – it was easy and fun and relaxed and US. (We love that movie!)

I didn’t break out into hives when the house was trashed for 36 hours straight.

And then I still didn’t clean it after 36 hours – I just left and went shopping. :)

My husband and I didn’t exchange gifts – because being debt free is going to be our gift to each other and our family. (SOON.)


Every year, I have all of these visions of what our holidays will be in my head -- usually there’s a soft glow around everyone, birds are singing (somewhere) and I look 15 pounds thinner…it’s a great vision. In my head. :)

And those visions pretty much never happen. It’s never perfect. I never accomplish all that want to. Every year I say, I’ll make a list of those things I want to get done and make sure to do them. And every year life gets in the way.

A whole lot of “didn’t” happens.

And every year I realize how very OK with that I am. Our holidays don’t end up our like my visions -- they always turn out so much better. So sweet. So close. So much family. So much big, fat, LOVE.

I hope your holiday was all you (didn’t) envision and so, so, so much more. :)


I’ll be back tomorrow with an update on my office redo!

Thursday, December 23, 2010

Merry Christmas to you and yours…

Hello all! We are prepping for the big day around here, and there’s SO much to do, but I LOVE IT.

I wanted to take a minute to thank you all so very, very much for your support and love this year. I have the BEST readers out there. (I really do.)

To wrap up the holiday posts, I thought I’d do a recap in pictures. A few shots I haven’t shown you yet, and some are of my favorites from this year’s Christmas posts.

Enjoy the lights, glitter and cheer. :)

(Click pics to get to posts.)

Merry Christmas from my family to yours…

mantel

tree

windows

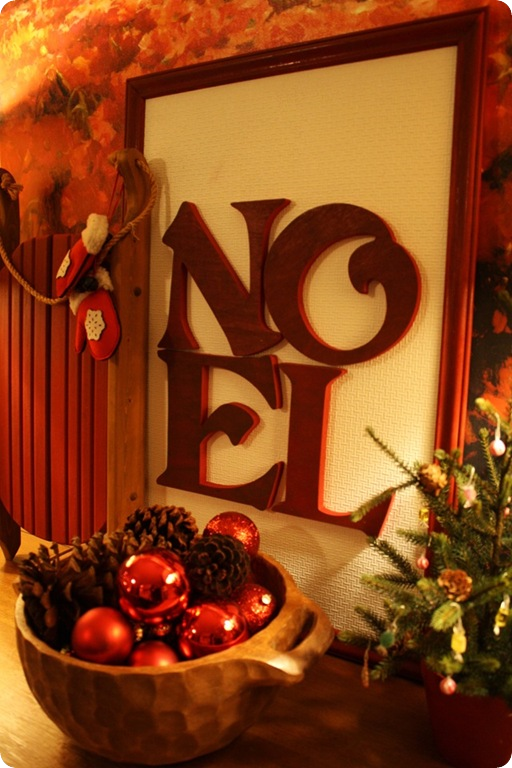
NOEL art

dining display

Santa hats

kitchen

stairs I hope you have lovely, magical holiday!

Tuesday, December 21, 2010

I love my Dremel

Howdy! Remember when I told you I got a fun new tool, and that tool was the Dremel Multi-Max?

image

(Salivating.)

Well, I told you I’d share the ways I’ve found to use it, and I found some GOOD ones. :)

The tool came with three attachments – two cutting blades and a sander. It was super easy to put them on – just loosen the nut, fit the attachment in and tighten:

IMG_2455

I started with this one:

IMG_2456

And I knew just what I wanted to attack with it:

IMG_2417

We have a few windows in the house that are really showing their age – or at least the caulk around them is. You can see from above that some are not in the best shape. Not so great for the heating bill, I tell you.

I have a goal this winter to recaulk all of our windows, and I have heard to do it right, you need to remove the old stuff first. I was thisclose to ignoring that advice and going right over everything with new caulk – until the Multi-Max. :)

This thing was so stinkin’ cool, ACK!! I just turned it on, slid the attachment in, and let it get under the caulk:

IMG_2419IMG_2418

I turned up the power a bit, and it just slid right under that stuff like butta.

It only took seconds to get a huge piece off:

  IMG_2420  IMG_2415 

And then I did the same along the bottom:

IMG_2422

I put tape down on the window sill at first, thinking I might need it to protect the wood:

IMG_2421

But this thing is stealth. No damage whatsoever. LOVE love love – can you believe I’m excited to tackle all the windows now? Who in their right mind enjoys removing caulk? Me, that’s who.

Next, I attached this baby to the Dremel:

IMG_2423

Buwahahaha! Can you feel the power?? :)

It’s been years since I put up the beadboard in our laundry room, and I still haven’t finished it! Only half the room is done -- but I’m determined to finish it up soon. Actually, I have a little redo planned for that room (if I have my way is going to be a HUGE redo, but we will see). At the very least, I need to get the beadboard done.

The hardest part of the whole installation of beadboard (for me) is removing baseboards. I dream of chunky, thick baseboards in our house, and it would have happened a long time ago, but the builders of our home were serious when they installed them.

They are pain in the PATOOT to remove. I’m talking sweating, pulling, cursing, prying, destroying drywall, crying a little, pain.

So I had an idea – I used the Dremel to cut into the baseboards:

IMG_2425

Like butta.

Then I took it along the top, where the drywall and board meet. I haven’t even pulled out the pry bar yet, but I can already budge them, just with my fingers.

Oh HAPPY DAY! The Dremel will save me much sweating. :) I figure if I keep cutting the baseboards every six inches or so, and then along the top as I go -- it’s going to help tremendously.

Finally, I pulled out the sander attachment:

IMG_2458

I have a Craigslist dresser I’ve yet to show you, because I want to paint it. The seller painted the piece, but it wasn’t sanded at all between coats, so it’s really rough to the touch:

IMG_2427

Since I’m repainting it, I needed to sand it down a bit. (I would have anyway – it’s that rough.)

So I used the Dremel to work on the little, skinny parts:

IMG_2430

Do you KNOW how many times I could have used this in the past? Ugh. I love that you can really get around the curvy parts too:

IMG_2467 IMG_2471

The shape is perfect – it literally just slid around the detail of the drawers, like…wait for itBUTTA.

My little sanding block can’t compete. :)

My very favorite part is that you turn it on, then you can adjust the power while it’s on:

IMG_2473

I found myself adjusting as I went constantly – it’s so easy to do while you’re using the tool.

So there. you. go. Need a gift idea for the handy guy in your life? The hard to buy for Dad? Grandpa? Or maybe for YOU? (I won’t tell.) This little tool packs a punch – I’m not lyin’ when I say I’m super impressed with it.

Can’t wait to knock some more caulk off the windows! After the holidays, of course. :) No more DIY around here till after January 1st. (I’m writing that down so I will stick to it.)

I’ll be back this week with one more easy Christmas idea, then I’m outtie till after Christmas. :)

Hope your buying, wrapping, cooking, baking and entertaining is all going GREAT!